
In this guide
- What glare actually is: two kinds, one cause
- The 30° cut-off rule and why recess depth matters
- Choosing fixtures: baffles, louvres, UGR and beam angle
- Setbacks: where fixtures must not go
- Room by room: the sightline that decides each layout
- Reflected glare: screens, glossy floors and marble
- What dimming, tunable white and scenes fix
- Eight glare mistakes we see most often
- How Pert plans it — a designed solution, not a DIY kit
- FAQs
This is a planning article, not a shopping list. It is most useful while a ceiling layout is still on paper, because almost every glare fix is free at that stage and expensive afterwards. It sits alongside our wider coverage of home automation in Hyderabad, and it goes deeper into comfort than our layout guide to downlight spacing and beam angles, which covers how many fixtures a room needs and where they land on the grid. Read that one for the grid; read this one for whether the grid will be comfortable to live under.
What glare actually is: two kinds, one cause
The eye does not measure brightness in absolute terms. It adapts to the general level of a scene and then reacts to whatever is much brighter than that. A bare LED chip can be several hundred times brighter than the plaster around it, which is why a single badly chosen downlight can spoil a beautifully lit room. Everything below follows from that one fact.
Direct or discomfort glare
You can see the source itself. It is the bright dot at the top of your vision when you settle into the sofa, the fixture you squint past when you look up at someone across the dining table, the strip above the mirror that hits you at eye height. It rarely stops you doing anything, which is why people put up with it for years, but it causes the low-level tiredness and the “too harsh” complaint that no amount of extra lighting cures.
Reflected or veiling glare
You see the source in something else: a television, a laptop screen, a glass-topped table, a polished granite counter, a glossy laminate wardrobe shutter, a vitrified floor. Veiling glare is the more disabling kind, because it washes out the contrast of whatever you were trying to look at. It is also the one most often designed in by accident, since the ceiling plan is drawn without anyone tracing the reflection angles from the sofa to the TV.
Both kinds come from the same cause: a small, very bright source that is visible either directly or by reflection from a normal seated position. The rest of this guide is about removing that visibility.
The 30° cut-off rule and why recess depth matters
The single most useful rule in comfortable lighting design is the 30° cut-off. Imagine a cone drawn down from the ceiling around each fixture. If the light source is hidden for everything within about 30° of the ceiling plane — that is, from any normal seated or standing sightline — the fixture reads as a pool of light on the floor or wall rather than as a bright object. Old lighting handbooks called the safe zone above that line the “cut-off angle”, and every anti-glare downlight sold today is essentially a device for achieving it.
What delivers the cut-off is recess depth: how far the LED sits back inside the fixture body, behind the ceiling surface. As a practical comparison for the fixtures commonly installed in Indian homes:
| Fixture style | Typical source recess | How it reads in the room | Use it for |
|---|---|---|---|
| Flat panel / surface light with exposed diffuser | 0 mm, flush with the ceiling | The whole diffuser is a visible bright surface; low intensity but very large, so it dominates a view of the ceiling | Utility, store, service balcony, wash areas |
| Standard downlight, shallow trim | 3–8 mm | The LED or diffuser is visible from across the room; the classic “row of bright dots” effect | Best avoided in living and sleeping areas |
| Deep-recessed anti-glare COB with dark baffle | 18–30 mm | You see the light, not the lamp; the aperture looks dark until you stand under it | Living, dining, bedrooms, corridors — the default choice |
| Trimless / plaster-in with deep reveal | 25–40 mm | Cleanest result; nothing visible in the ceiling at all when off | Feature ceilings where the ceiling contractor can coordinate early |
| Linear profile in a cove or slot | Source hidden by the cove lip | No visible source from anywhere in the room; only a lit surface | Ambient layer, ceiling perimeters, wall grazing |
Two practical notes. First, recess depth must be checked against the plenum — the gap between the false ceiling and the slab. A deep anti-glare fixture may need 90–120 mm of clear depth including the driver, which is fine in a 200 mm drop but not where a ceiling has been dropped only 75 mm to preserve height. Sort that out with the ceiling contractor before fixtures are ordered, not after the cutouts are made. Second, the light that a baffle removes is roughly 10–20% of the fixture's output; plan the layout from the delivered lumens rather than the headline figure. Where ceiling height is tight and recess depth is not available, the honest answer is to move the layer into a cove or onto the walls instead.
Choosing fixtures: baffles, louvres, UGR and beam angle
Once depth is settled, four details separate a comfortable fixture from an uncomfortable one at the same price point.
- A dark internal baffle. The inside of the recess should be matte black or a deep dark grey, not white or polished chrome. A white or mirror-finish inner cone reflects the source back out at exactly the angles you were trying to cut off. This one detail, visible in any showroom by simply looking into the aperture from the side, separates most good downlights from most bad ones.
- Honeycomb louvres and lenses. A honeycomb insert narrows the exit angle further and is worth specifying for artwork spots and for any fixture that will sit in a difficult sightline. Frosted lenses soften the source but spread light wider, which can trade a hard glare for a broad bright surface; choose deliberately.
- UGR figure. Aim for under 19 in living, dining and kitchen spaces, and under 16 where someone faces a screen for hours in a home office or study. Bedrooms want the lowest available number because people lie down and look up. A manufacturer's figure is measured in a standard test room, so use it to compare products rather than as a promise about your room.
- Beam angle. Narrow beams of 15–24° are for accenting objects and are more likely to be glary if they land where people look; 36–60° beams are for general illumination and blend more kindly. Our guide to panel, COB, strip and spot lights sets out what each type is actually for, and the beam angle and spacing rules cover the arithmetic.
One more variable that is easy to miss: the fixtures must dim without flicker, because dimming is a large part of glare control. A fixture that only works at full output removes your main comfort adjustment. Driver compatibility is covered in why LED lights flicker when dimmed.
Setbacks: where fixtures must not go
Glare is as much about position as product. These setbacks come up on nearly every residential ceiling plan and are worth marking on the drawing before anything else is placed.
| Situation | Rule of thumb | Why |
|---|---|---|
| Downlight near a wall you want to wash | Set it 600–900 mm off the wall for a 2.7–3.0 m ceiling | Closer than that scallops harshly and lights the top of the wall only; further out and it becomes a floor light |
| Above a bed | Keep general downlights out of the rectangle directly over the pillows | Someone lying down looks straight up; a source there is unavoidable and cannot be aimed away |
| In front of a seated sofa | Avoid the band roughly 1.0–1.8 m in front of the seat edge | That band sits inside the 30° sightline of anyone reclining; shift fixtures behind the seat or onto the wall |
| Around a television | Keep downlights about 1 m clear of the screen wall, and never opposite the screen | Fixtures opposite reflect straight into the panel; fixtures just above it wash out the top of the picture |
| Over a dining table | Pendant base 750–900 mm above the tabletop, opaque or deeply shaded | At that height the source is above the eyeline of seated diners but below the sightline across the table |
| At a mirror | Light the face from both sides at eye level, not from a spot directly overhead | An overhead source throws shadows into the eye sockets and reflects off the mirror into the eye |
| Corridors and staircases | Wall-graze or step-light rather than downlight the centre | People walk looking forward and slightly up; a line of ceiling dots is directly in that view |
These are planning rules, not laws of physics; a designer will break one deliberately when the room demands it. The point is that the breaking should be a decision, taken with the furniture layout in hand. A ceiling plan drawn without the furniture on it will produce glare by default — which is one of the reasons we insist on reading the layout and the reflected ceiling plan together.
Room by room: the sightline that decides each layout
For every room, the useful question is simple: where will someone's eyes be, and what will they be pointed at? Answer it once per room and most of the layout follows.
Living room
The controlling sightline is a person reclining on the sofa, eyes about 1 m off the floor, looking slightly up and across the room. Pull general downlights back from the seating, put the ambient layer on the walls and the ceiling via cove and profile lights, and reserve narrow beams for the artwork and the console. Done properly the room is lit mostly by wall washing and accent light and the ceiling grid does far less work. The layering logic is covered in living and dining lighting layers.
Bedroom
The controlling sightline is someone lying flat. That single fact removes the ceiling directly above the bed from the plan and pushes the layers to the perimeter: cove for ambient, a bedside reading light with a tight beam and a shielded source, wardrobe and dressing light aimed at the shutters. A dim, warm night path at low level completes it. Details in bedroom lighting and automation.
Home office and study
Two sightlines matter: the eye to the screen, and the eye to the ceiling behind the screen. Keep fixtures out of the reflection zone behind the seated person, aim for UGR under 16, and light the wall behind the monitor so the contrast between a bright screen and a dark wall is reduced. A desk lamp from the side beats a downlight overhead.
Kitchen
The sightline is a person standing at the counter, facing the wall units. Under-cabinet light must be shielded at the front edge of the unit so the strip is not visible to anyone seated in the adjacent dining area — a very common miss. Avoid glossy counter finishes directly under a bright unshielded source; see kitchen lighting and automation.
Bathroom
Mirror lighting from the sides at face height, a shielded shower downlight rather than a bare one, and nothing bright in the line of sight of someone in the bath. Wet-area fixtures are already limited in choice, so the shielding has to be designed rather than assumed.
Staircase and corridor
People here are moving and looking ahead, so ceiling fixtures are directly in the view at the top of a flight. Step lights, handrail profiles and wall grazing solve it at low brightness, and pair naturally with the sensor control described in staircase and corridor lighting with motion sensors.
Reflected glare: screens, glossy floors and marble
Finishes decide as much as fixtures. The same ceiling plan that is comfortable over a matte wooden floor can be unbearable over polished vitrified tile, because a glossy surface reproduces every source as a second, mirrored fixture at your feet. This matters in Hyderabad homes in particular, where large-format glossy tile, granite and marble, and glass-front display units are all common.
- Trace the mirror angle. For any glossy surface, the reflection you see comes from the point where the angle in equals the angle out. On a ceiling plan this takes a minute with a ruler: from the sofa, through the TV, up to the ceiling. Whatever fixture sits at that point is a fixture you will see in the screen. Move it.
- Keep the media wall on its own circuit. Even with a clean layout, the most reliable answer for movie watching is a scene that switches the ceiling layer off entirely and leaves a low cove or a back-of-TV bias light. This is standard practice for a home theatre or media room.
- Prefer matte finishes where light lands hardest. Matte laminate on wardrobe shutters that face a window, honed rather than polished stone on an island under spots, fabric rather than glass on a lampshade in a sightline.
- Remember daylight. The brightest and most common source of glare in an Indian home is the sun, not the fittings. A west-facing living room in April will defeat any lighting scheme. Sheer layers on motorised curtains diffuse direct sun while keeping the view, and a schedule that closes them through the harshest hours does more for daytime comfort than any fixture choice. The fabric side of this is covered in choosing curtain fabrics for motorised curtains.
What dimming, tunable white and scenes fix
Geometry decides whether a source is visible. Control decides how bright it is when it is. The two work together, and the second cannot rescue the first.
- Dimming. Glare tolerance falls as the evening goes on and the eye adapts to lower levels; the same downlight that is fine at 7 pm is harsh at 11 pm. Every scene-critical circuit should be dimmable, and a living room typically needs its ceiling, cove and accent layers on separate channels to be dimmed independently. How many channels a room really needs is set out in planning dimmer channels and lighting loads.
- Tunable white. Warmer light at low levels feels gentler for the same measured brightness, which is why 2700K at 30% reads as calm and 4000K at 30% reads as clinical. Choosing the temperature per room and per time of day is covered in our colour temperature guide.
- Scenes. The practical form all of this takes is a small set of presets on a wall keypad: Evening at perhaps 30% ceiling and 60% cove, Movie with the ceiling off entirely, Reading with a single tight beam over the chair, Night at 5% on the path lights only. Worked examples are in designing home automation scenes.
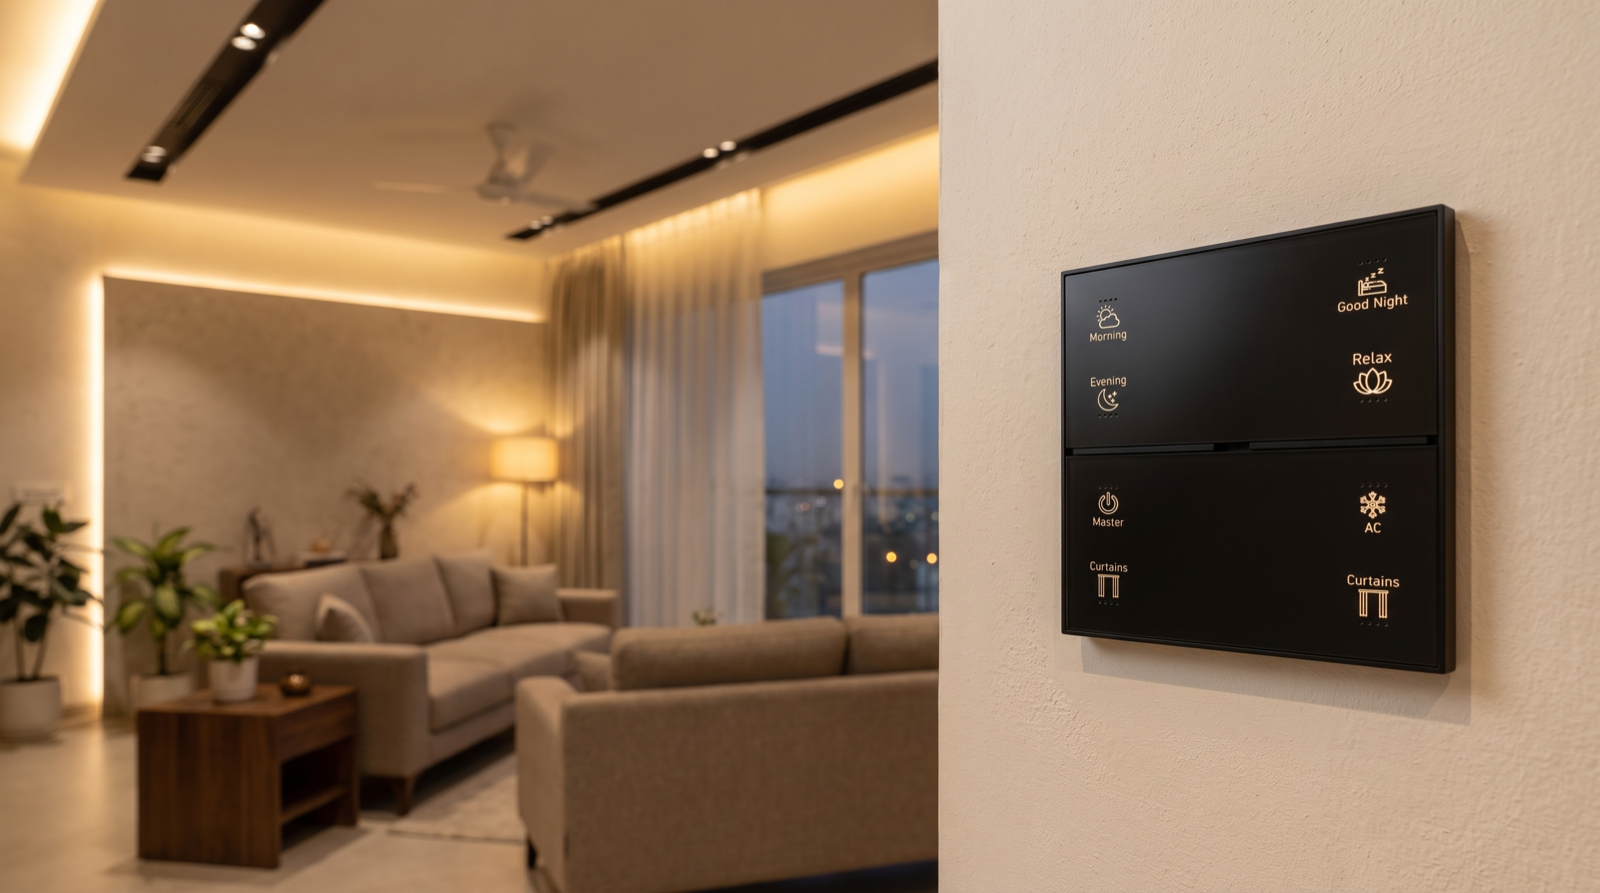
- The interface matters. If lowering the lights takes three taps in an app, nobody does it and the room lives at 100%. A labelled Stella keypad on the wall, with Evening and Night as physical buttons, is what turns a good design into daily habit. Button counts and engraving are covered in keypad layouts and engraving.
Where fixtures are still being selected, dimmable and tunable smart COB, profile and spot lighting keeps all of these options open; a non-dimmable fixture closes them permanently.
Eight glare mistakes we see most often
- Drawing the ceiling plan before the furniture layout. Without knowing where the sofa and bed sit, there are no sightlines, and the fixtures land on a symmetric grid that ignores every one of them.
- Choosing fixtures on wattage and price alone. Two 12 W downlights at the same price can differ completely in recess depth and baffle colour, and that is the difference you will live with.
- A white or chrome inner cone. It undoes the recess it is built into.
- Downlights over the bed. The most common single complaint after moving in, and the hardest to fix later.
- Symmetric rows for their own sake. A perfectly even grid looks tidy on the drawing and puts fixtures in sightlines that a slightly asymmetric plan would have avoided.
- Ignoring the floor finish. Glossy tile doubles every source in the room.
- Relying on a single bright layer. One circuit at full output is inherently glary; three layers at 30–60% is the same light level and far more comfortable.
- Non-dimmable fixtures. They remove the adjustment that would have made the marginal cases acceptable.
How Pert plans it — a designed solution, not a DIY kit
Pert is a solutions company: we design and install, and we do not sell a box of smart lights for a homeowner to work out. On the lighting side that means our team starts from your furniture layout and interior drawings rather than from a fixture catalogue. We mark the controlling sightline for each room, place the ambient, task and accent layers accordingly, select fixtures on recess depth, baffle colour, UGR and dimming performance rather than on wattage alone, and check the reflection angles for televisions, work screens and glossy finishes before the ceiling cutouts are confirmed. We coordinate plenum depth with the ceiling contractor, group circuits so each layer can be dimmed on its own, commission the scenes on a labelled keypad, and set the levels on site with the family in the room at the hour they actually use it. Curtains and lighting are commissioned together, since daylight is half the glare problem in a Hyderabad home.
If you are comparing who should do this kind of design work, best home automation companies in Hyderabad sets out what separates a design-led company from a hardware supplier — starting with whether anyone asks to see your furniture layout.
Planning a new home or a renovation in Hyderabad and want lighting that is comfortable, not just bright? Send us your layout and we will mark the sightlines, select anti-glare fixtures, and design the scenes that go with them. Book a lighting design consultation →
Frequently asked questions
Why does my new lighting feel harsh even though the room is bright?
Almost always because the source itself is visible from where you sit or lie. Comfort depends on contrast, not total brightness: an exposed LED can be hundreds of times brighter than the ceiling around it. Recess the source deeper so it is hidden above a 30° cut-off, choose trims with dark baffles, keep fixtures off the sightlines from the sofa and bed, and move more of the light onto walls and ceilings.
What is UGR and what should I aim for at home?
Unified Glare Rating describes how uncomfortable an installation is likely to look from a given viewing position, and lower is better. Aim for under 16 in a home office or study, under 19 in living, dining and kitchen areas, and the lowest figure available in bedrooms, where people lie down and look straight up. Treat manufacturer figures as a way to compare fixtures, not as a guarantee for your room.
Do anti-glare downlights make a room darker?
They deliver roughly 10–20% less light than a flat exposed fixture of the same wattage, because the baffle absorbs the sideways spill. Rooms rarely feel darker, since the light removed is the light that was reaching your eyes rather than the surfaces. Plan the layout from delivered lumens and add a fixture if needed, instead of giving up the baffle.
Can dimming and automation solve glare on their own?
They help, but they cannot rescue bad geometry. A fixture in a direct sightline still shows a visible bright spot when dimmed, and dimming everything to hide it leaves the room unusable. Fix glare first with fixture choice and position, then refine it with dimming, tunable white and scenes.