
In this guide
- Beam angles and the beam-diameter rule
- Spacing and setback: the drop decides, not the room
- How many fixtures? Budget lux, not fittings
- Cutouts, plenum depth and glare control
- Wall washing, grazing and aiming at artwork
- A worked 3BHK ceiling layout
- Grouping the grid into dimmable scenes
- How Pert delivers it (designed, not DIY)
- FAQs
This guide is part of our wider coverage of home automation in Hyderabad, and it deals with the layer most homes get wrong first. If you have already chosen your fixture types, our guide to panel vs COB vs strip vs spot lights covers what belongs where; this article is about where each one physically goes on the ceiling and how wide it should throw.
Beam angles and the beam-diameter rule
Beam angle is the cone within which the fixture delivers at least half its peak intensity. It is the single specification that decides how a light lands, and it is routinely left off Indian fixture quotations — which is why so many homes end up with one 60° flood doing every job in the house.
The maths is simple enough to do on site. Beam diameter = 2 × drop × tan(half the beam angle). In practice you only need three multipliers:
- 24° (spot) — beam diameter is about 0.4 × the drop. From a 2.7m ceiling onto a 0.9m counter (1.8m drop) that is a tight ~0.8m pool. Task and accent work.
- 36° (narrow flood) — about 0.65 × the drop. The same 1.8m drop gives ~1.2m. The most useful all-round angle for kitchens and dining.
- 60° (flood) — about 1.15 × the drop. Onto the floor from a 2.7m ceiling that is ~3.1m across. General ambient fill.
Two consequences follow. First, narrow beams need tighter spacing, not wider — a common site error is to use 24° spots on a 2m grid and end up with distinct circles of light and dark gaps between them. Second, beam angle and mounting height trade against each other: a 3.4m villa ceiling throws a much wider pool than a 2.7m apartment ceiling from the identical fixture, so a layout copied from another home rarely transfers.
Which angle for which job
- General ambient — 36° to 60°, spaced to overlap into an even field.
- Kitchen counters, study desks, dressing units — 24° to 36°, positioned over the front edge of the counter so you are not working in your own shadow. More on this in how to plan kitchen lighting & automation.
- Artwork, texture walls, plants, sculpture — 15° to 24° adjustable, at two to three times the surrounding light level so the object actually reads as accented.
Spacing and setback: the drop decides, not the room
The most common planning shortcut — "divide the room into equal parts" — produces a grid that has nothing to do with how light behaves. Space from the drop instead: the vertical distance from the fixture to the surface you are actually lighting.
- Lighting the floor in a 2.7m flat: drop = 2.7m.
- Lighting a dining table or kitchen counter at 0.75–0.9m: drop = 1.8–1.95m.
- Lighting a desk at 0.75m: drop = 1.95m.
Then apply two rules:
1. Spacing = 1.0 to 1.5 × the drop
At the tighter end (1.0×) you get a genuinely even wash with no visible falloff; at the looser end (1.5×) you get an economical general layer with gentle variation, which is usually what a living room actually wants. For a 2.7m ceiling lighting the floor, that is roughly 1.4m to 2.0m between fixtures. Go beyond about 1.7× the drop and the scallops between fixtures become obvious at night.
2. Setback from the wall = half the spacing
If your fixtures are 1.6m apart, the first row sits about 800mm off the wall. Practically, 600–900mm is the working band for general downlights. Closer than about 500mm and a wide-beam fixture throws an unintended bright arc up the wall; further than about a metre and the room's perimeter goes dark and the space feels smaller than it is. Note this is different from a deliberate wall-wash setback, covered below.
Three practical adjustments to the grid, all of which matter more than symmetry:
- Align to the furniture, not the room. Centre task fixtures on the counter run, the dining table and the study desk — even where that breaks the visual rhythm. A downlight neatly centred in a ceiling grid but 400mm off the dining table is a wasted fixture.
- Mark no-fixture zones. Directly above the sofa seating line, the bed head, and anywhere someone lies down or reclines. A source in your upward field of view is the number one cause of "our lighting feels harsh".
- Coordinate with the ceiling first. AC ducts, grilles, sprinkler lines, beams and cove routes all compete for the same plenum. Move the fixture on the drawing, not with an angle grinder on site — the coordination sequence we describe in when to plan home automation during construction.
How many fixtures? Budget lux, not fittings
Count lumens first and let the fixture count fall out of it. The working method:
Installed lumens = floor area (m²) × target lux ÷ 0.5
The 0.5 is a combined utilisation and maintenance factor — light lost to walls, furniture, fitting efficiency and gradual lumen depreciation. Use 0.4 for a dark-walled room with deep wood and dark upholstery, and 0.6 for a bright room with pale walls and a light floor.
Target ambient levels for Indian homes
- Living room — 100–150 lux ambient (with task and accent layers on top)
- Dining — 100–150 lux ambient, 200–300 lux on the table itself
- Kitchen — 200–300 lux general, 300–500 lux on the counter
- Bedroom — 75–100 lux ambient, 200–300 lux at a bedside reading position
- Study / home office — 300–500 lux on the desk
- Bathroom — 150–200 lux general, 300–500 lux vertical at the mirror
- Corridors and stairs — 75–100 lux, and far less at night
Worked through: a 3.6 × 4.9m living room is 17.6m². At 120 lux that is 2,112 lumens on the plane; divided by 0.5, about 4,200 installed lumens. With 8W COB downlights at roughly 700–800 lumens each, that is six fixtures — not the eighteen that get marked out on site. Remember the ceiling grid is only the ambient layer: a cove, two accent spots and a pair of table lamps all add to the total, so a grid sized to carry the whole room single-handedly will always be over-lit.
Then check the load. Six 8W fixtures is 48W — comfortably inside one dimmer channel, whereas the eighteen-downlight version at 216W is not. Channel capacities, minimum loads and grouping rules are covered in how to plan dimmer channels & lighting loads. And because dim quality depends on the driver as much as the fixture, read why LED lights flicker when dimmed before you finalise a fixture brand.
Cutouts, plenum depth and glare control
Three physical specifications have to be on the drawing before the ceiling contractor starts, because none of them can be changed afterwards without patching gypsum.
- Cutout diameter. Most residential COB downlights use a 65–75mm cutout; larger 90–110mm apertures suit high ceilings and higher outputs. Fix the exact model before marking out — a 75mm hole cannot be reduced for a 65mm fitting, and the trim ring rarely covers the difference cleanly.
- Plenum depth. A recessed COB needs roughly 90–120mm of clear space above the finished ceiling for the body, the heatsink and the driver, plus airflow around it. Where the false ceiling drops only 100mm below a beam or a duct, that fixture simply will not fit — find out on the drawing, not when the electrician is standing on a ladder.
- Recess depth and baffle. Specify a deep-recessed anti-glare fitting where the LED sits 30–40mm inside a matte black baffle, with a UGR below 19. This is the difference between a ceiling of soft light apertures and a ceiling of bright dots you can feel in your eyes across the room. It costs a little more per fixture and it is the upgrade homeowners notice most.
- Colour consistency. Ask for CRI 90+ and a single production batch per room, with a tolerance of 3 SDCM or better. Mixed bins in one ceiling show as one downlight looking pinker or greener than its neighbours — painfully obvious in a straight line of fixtures.
Colour temperature deserves its own decision per room rather than one house-wide value; our colour temperature (CCT) guide works through it room by room, and tunable and dimmable lights explains why we specify tunable fixtures on most projects instead of committing to a fixed 3000K.
Wall washing, grazing and aiming at artwork
Light on a vertical surface does more for how large and how finished a room feels than the same light on the floor. Three different techniques, three different setbacks:
Wall washing — even, flat illumination
Set the fixtures back from the wall by about one third of the ceiling height — roughly 800–900mm on a 2.7m ceiling — and space them apart by the same distance as the setback. Use a wide 60° beam or a dedicated wall-washer trim. Done properly the wall reads as an evenly lit plane with no visible scallops, which is what makes a corridor or a plain feature wall feel deliberate.
Wall grazing — emphasising texture
The opposite intent: bring the fixtures in to 150–250mm from the wall so the light skims down the surface at a sharp angle and throws every ridge into relief. This is what you want on stone cladding, fluted panelling, brick or textured plaster — and exactly what you do not want on flat painted plaster, where it will reveal every trowel mark and joint.
Accent spots on artwork
Aim adjustable spots at about 30° from vertical — steep enough to avoid your own shadow when you stand in front of the piece, shallow enough to avoid reflected glare bouncing off glass back into your eyes. To achieve 30°, place the fixture at a horizontal distance from the wall of about 0.58 × the drop to the centre of the artwork: for a picture centre 1.5m below the ceiling, that is roughly 870mm out from the wall. Use a 15–24° beam so the light lands on the frame and not the whole wall.
Wall lighting works best alongside the indirect layer rather than instead of it — see how to plan cove lighting in a false ceiling for the ambient base, and how to plan living and dining room lighting layers for how the three layers combine in the rooms where it matters most.
A worked 3BHK ceiling layout
A typical 1,650 sq ft Hyderabad 3BHK with a 2.7m finished ceiling, planned by the rules above:
- Living (3.6 × 4.9m) — 6 × 8W COB at 36°, in two rows of three, 1.6m apart, 800mm off the walls, shifted clear of the sofa seating line. Plus 2 × 7W adjustable 24° spots on the feature wall at 870mm setback, and a perimeter cove. Roughly 4,600 lumens across three channels.
- Dining (3.0 × 3.3m) — 2 × 8W at 36° centred on the table axis, not the room axis, plus a pendant. 4 × 5W at 60° as perimeter fill.
- Kitchen (2.4 × 3.6m) — 4 × 9W at 36° on the general grid, plus continuous under-cabinet strip on the counter, which does the real work at 300–500 lux. Downlights sit over the front edge of the counter, 350–400mm off the wall line.
- Master bedroom (3.6 × 4.2m) — 4 × 7W at 36°, none above the bed, plus 2 bedside reading lights on their own channel and a wardrobe wall wash at 850mm setback.
- Two bedrooms — 3 × 7W each at 36°, plus one wardrobe wash each.
- Corridor (1.1m wide) — single row of 4 × 5W at 60°, 1.5m apart, centred 550mm from one wall so it half-washes rather than sitting dead centre.
- Bathrooms — 2 × 7W each plus vertical mirror lighting, which matters far more than the ceiling fixtures.
That totals roughly 34 recessed fixtures at about 250W across the flat — against the 55–60 fixtures and 600W+ that the same flat typically gets when the ceiling is marked out by eye. Fewer, better-placed, better-specified fixtures on dimmable channels beat a dense grid every time, and they cost less to buy and to run.
Grouping the grid into dimmable scenes
A layout is only half the job. Fixtures grouped as one switch mean the ceiling is either fully on or fully off, and the careful distinction you drew between ambient, task and accent disappears the moment somebody flicks a switch. Group them instead:
- Separate the layers. Ambient grid, task fixtures, accent spots and cove should each be their own dimmable channel — never ganged together.
- Split large rooms by zone. In an open living-dining, the seating-area downlights and the dining downlights belong on different channels so one can go low while the other stays up.
- Keep beam angles together. Do not put 24° accent spots and 60° floods on the same channel — they dim to visibly different effects and one will always look wrong.
Once grouped, the ceiling becomes something you set rather than switch. A typical living-room configuration:
- Morning — ambient grid 80% at 4000K, accents off, cove 50%, motorised curtains open.
- Evening — ambient grid 40% at 2700K, accent spots 75%, cove 45%.
- Dinner — dining channel 55%, living grid 20%, accents 60%.
- Movie — grid off, cove 10%, curtains closed.
- Good Night — all lighting off, curtains closed, security armed.
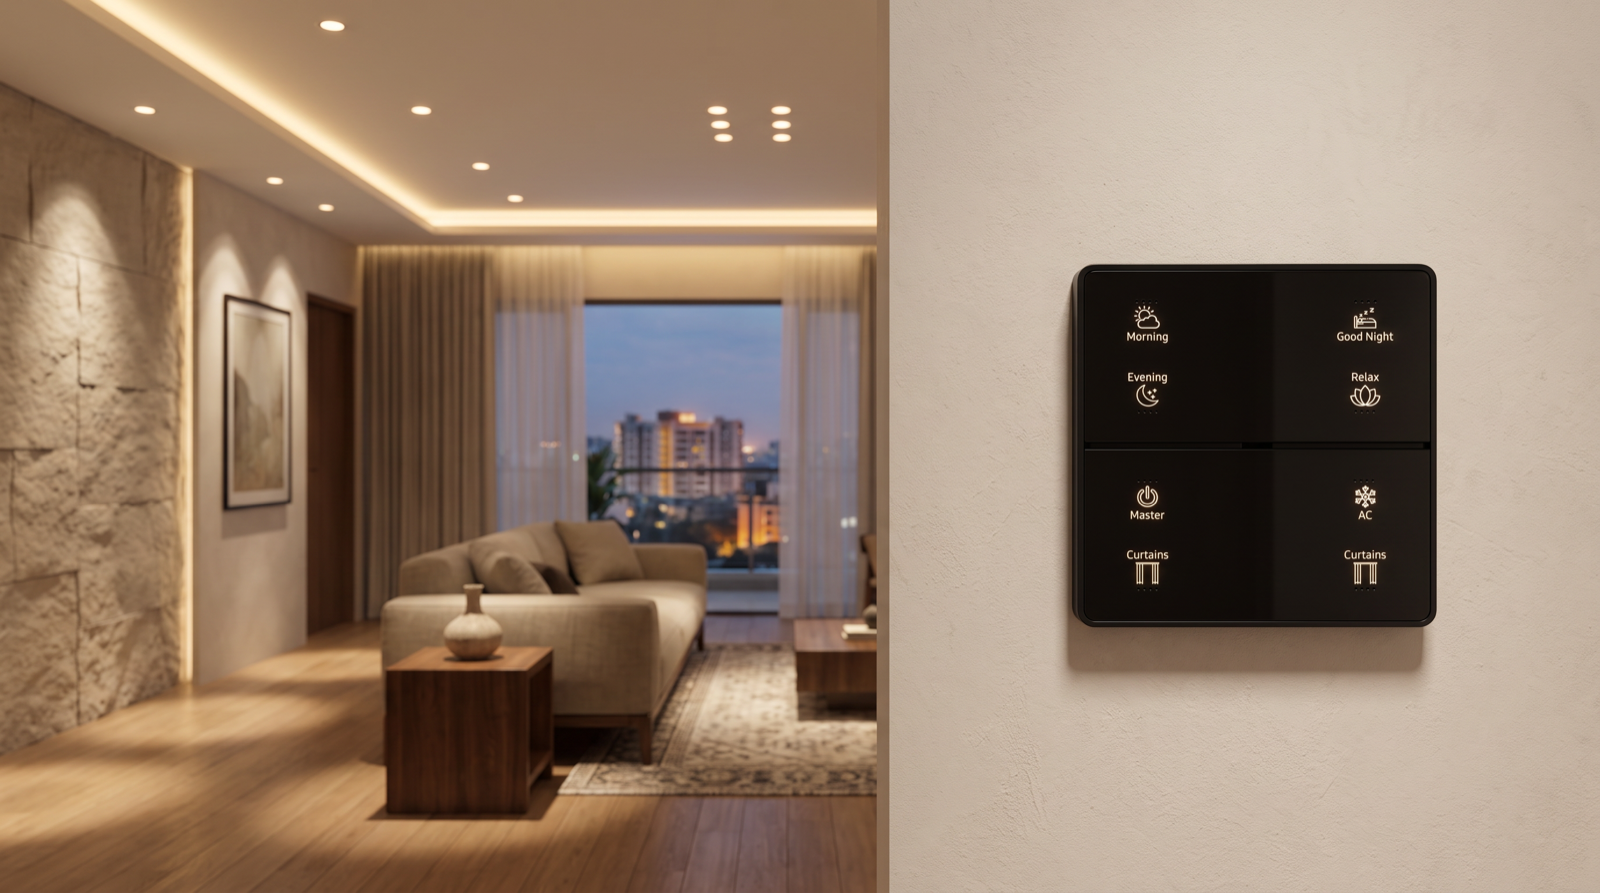
All of it runs from a wall keypad at the room entrance, so the layout you paid a designer to plan is actually used rather than defaulting to everything-on. See how to design home automation scenes for worked scene tables, and how to plan keypad layouts & engraving for getting the buttons right.
How Pert delivers it — a designed solution, not a DIY kit
Pert is a solutions company: we design and install, we do not hand over a carton of fixtures and a spacing chart. On a lighting-layout project that means a site visit to measure finished ceiling heights, window positions and the furniture plan; a reflected ceiling plan that marks every fixture position with its cutout diameter, beam angle, wattage and CCT, dimensioned from the walls so the electrician can transfer it accurately; a lumen and lux calculation per room so the fixture count is justified rather than guessed; coordination with your interior designer, ceiling contractor and HVAC team before the gypsum closes; dimmable, tunable smart lighting supplied and installed with the channels grouped as designed; and finally scene commissioning done in the finished, furnished room after dark — because a level that looks right on a calculation sheet rarely looks right at 9pm.
If you are laying out a ceiling during a renovation rather than new construction, read can you add home automation during renovation in Hyderabad. If you are choosing who to work with, our guide to the best home automation companies in Hyderabad covers what to check before you sign.
About to mark out your ceiling in Hyderabad? Get the fixture count, beam angles, spacing and channel grouping designed before the cutouts are made — it costs nothing to move a light on a drawing and a great deal to move it in gypsum. Request a consultation →
Frequently asked questions
How far apart should downlights be spaced?
Work from the drop — the distance from the ceiling to the surface being lit — rather than the room size. Space fixtures 1.0 to 1.5 times that drop apart, with the first row at roughly half the spacing from the wall. In a 2.7m flat lighting the floor, that is about 1.4–2.0m apart with a 700–900mm setback.
What beam angle should I use for downlights at home?
36°–60° for general room lighting, 24°–36° for kitchen counters and desks, and 15°–24° for artwork and texture walls. As a quick check, beam diameter is roughly 0.4× the drop at 24°, 0.65× at 36°, and 1.15× at 60°.
How many downlights does a living room need?
Budget lumens, not fixtures: floor area in m² × about 120 lux ÷ 0.5. A 17.6m² living room needs roughly 4,200 installed lumens, which is six to eight 700–800 lumen COB downlights — and that grid is only the ambient layer, with cove, lamps and accents adding on top.
Should downlights be placed above the sofa or bed?
No. A fixture directly above a seated or lying position sits in your field of view and lights the top of your head instead of the room. Shift the grid into circulation space and along the front edge of seating, specify deep-recessed anti-glare fittings at UGR under 19, and give the sofa and bed their own dimmable reading lights.