
In this guide
- Step 1: map the four zones before you pick a single fixture
- Step 2: get the light levels right (lux, lumens, and how many spots)
- Step 3: under-cabinet lighting — the layer most kitchens skip
- Step 4: choosing colour temperature for a room where you judge food
- Step 5: the six mistakes that ruin a kitchen lighting plan
- Step 6: control — the three scenes a working kitchen needs
- How Pert delivers it (designed, not DIY)
- FAQs
Good kitchen lighting is a task-lighting problem wearing an interior-design costume. You need genuine brightness exactly where the knife meets the board, softer light everywhere else, and a way to move between the two without touching five switches. This article is part of our wider coverage of home automation in Hyderabad, and it focuses on the one room where getting the plan wrong is most obvious every single day.
Step 1: map the four zones before you pick a single fixture
Before lumens or fixture types, mark out where light has to do work. Almost every kitchen — a 7×9 ft utility galley in a Gachibowli 2BHK or a 12×16 ft island kitchen in a Kokapet villa — breaks into the same four zones:
- The wet zone — sink and drainboard. You stand facing the wall here, so this is where shadows bite hardest.
- The prep zone — the counter run between sink and hob, usually 900–1200 mm of working length. This deserves the best light in the room.
- The hot zone — hob and chimney. The chimney itself blocks ceiling light and its own lamp is rarely enough; plan for that rather than hoping.
- The storage and circulation zone — tall units, the walkway, and in an open kitchen the breakfast counter or dining edge. This needs even ambient light, not task light.
Sketch the plan and stand in each zone mentally facing the way you would actually work. Everything that follows is decided by where your own body will be. Getting this on paper at the electrical stage is what our guide on when to plan home automation during construction is really about — the kitchen is the room that punishes late planning most.
Step 2: get the light levels right (lux, lumens, and how many spots)
Use two targets and you will not go far wrong: about 300 lux of general light across the kitchen, and 500–750 lux on the prep counter and hob. Working backwards into fixtures:
- Ambient layer: budget roughly 250–300 lumens per square metre of floor area. A 10 sqm kitchen therefore wants about 2,500–3,000 lumens from the ceiling — for example six to eight 7W COB spots at around 500–600 lumens each, or four spots plus a cove run.
- Task layer: 400–600 lumens per running metre of counter, delivered from under the wall cabinets. A 2.4 m counter run needs roughly 1,000–1,400 lumens of strip. This is in addition to the ambient number, not part of it.
- Spot spacing: place ceiling spots 700–900 mm apart along the run. Wider than a metre and you get visible scalloping on the wall cabinets; tighter than 600 mm and you are paying for overlap.
- Beam angle: 36°–60° for general kitchen spots. Narrow 15°–24° beams belong on artwork, not on a worktop, where they create bright pools with dark gaps between them.
One caution on the wattage habit: a 9W LED spot is not automatically brighter than a 7W one. Read the lumen figure and the efficacy, because a poor 9W fixture at 70 lm/W loses to a good 7W at 110 lm/W. Our comparison of panel vs COB vs strip vs spot lights breaks down which fixture type suits which of the four zones above. For the ceiling layer that wraps the kitchen and dining area, see how to plan cove lighting in a false ceiling.
Step 3: under-cabinet lighting — the layer most kitchens skip
If you fix only one thing in your kitchen plan, fix this. Ceiling lights sit behind you when you face the counter, which means your own shoulders cast a shadow exactly onto the board. Under-cabinet lighting is the only layer that solves it, and the details matter more than the product:
- Mount at the front edge of the cabinet underside, not tucked at the back against the wall. Front mounting puts light on the front two-thirds of the counter where you work, and keeps the diodes out of your eyeline.
- Always use an aluminium profile with a frosted diffuser. A bare strip reflects as a row of dots in a polished quartz or granite counter and looks cheap the moment it is switched on. The profile also acts as a heatsink, which is what actually determines whether the strip still looks even after three Hyderabad summers.
- Run the strip across at least 70% of the cabinet width. Short 300 mm stubs in the middle of a 900 mm cabinet leave dark ends and look like an afterthought.
- Plan the driver location during civil work — inside the tall unit or a service loft, reachable without dismantling the modular carcass. A driver bricked in behind a shutter is a service call waiting to happen.
- Ask for IP-rated strip near the sink and keep joints out of the splash line.
Because the strip is dimmable and tunable, it doubles as the kitchen's night light: at 10% brightness it is enough for a glass of water at 2 a.m. without waking the household. Pert's smart lighting range is built for exactly this dual use, and the case for it is set out in tunable and dimmable lights.
Step 4: choosing colour temperature for a room where you judge food
The kitchen is the one room where colour accuracy is functional, not decorative — you are judging whether meat is done and whether coriander is fresh. Recommended split:
- Prep counter and hob: ~4000K neutral white. Cool enough to read colour honestly, not so cool that it feels clinical.
- Ambient ceiling and open-dining edge: 2700K–3000K warm white. This keeps the kitchen visually continuous with the living room in the evening.
- CRI 90 or above on the task layer. Below CRI 80, food genuinely looks grey and unappetising, and no amount of brightness fixes it.
Mixing two fixed colour temperatures in one small kitchen can look patchy, which is the practical argument for tunable fixtures: the same installation runs at 4000K while you cook and drifts to 3000K afterwards, so the room never fights the mood of the rest of the home. In an open-plan Hyderabad apartment, where the kitchen counter is visible from the sofa, that shift is the difference between the kitchen disappearing at night and glowing like an operating theatre.
Step 5: the six mistakes that ruin a kitchen lighting plan
- One central ceiling light. Guarantees you work in your own shadow at every counter in the room. Still the single most common kitchen lighting fault in ready-possession flats.
- Spots placed on a decorative grid instead of over the counter. Symmetry on the ceiling plan means nothing if the light lands on the walkway. Position spots roughly 400–500 mm out from the wall so the beam falls on the counter, not down the face of the cabinets.
- Ignoring glossy surfaces. High-gloss shutters, mirror backsplashes, and polished counters all bounce light. A glossy kitchen needs diffused sources and slightly lower raw output than a matte one, or it will glare.
- Forgetting the chimney shadow. A wide chimney blocks ceiling light over the hob. Plan a dedicated spot to the side, or an under-cabinet run continuing up to the hob edge.
- Non-dimmable fixtures. A kitchen at 100% is right for two hours a day and wrong for the other twenty-two. Dimming is what makes the same kitchen usable at 6 a.m. and 11 p.m.
- Leaving lighting for after the modular kitchen is installed. Once carcasses are fixed, profile routing and driver access get expensive or impossible. Lighting decisions belong with the electrical layout, before the false ceiling closes.
If your kitchen is already finished and you recognise several of these, it is still recoverable — retrofit profiles and rewiring within the existing conduit resolve most of it, which is the ground covered in adding home automation during renovation in Hyderabad.
Step 6: control — the three scenes a working kitchen needs
Once you have three or four separately switched lighting layers, individual switches stop being useful — nobody stands at a wall plate flipping four switches to start cooking. What a kitchen actually needs is three scenes:
- Cook — task layer at 100% and ~4000K, ambient spots at 80%, chimney-side spot on. The full working setting in one press.
- Serve / open — task layer down to 40% and warmer, ambient at 60%, breakfast-counter or dining light up. Right for eating, hosting, and for how the kitchen reads from the living room.
- Night — under-cabinet strip alone at 5–10%, warm. Enough to cross the kitchen safely with everything else off.
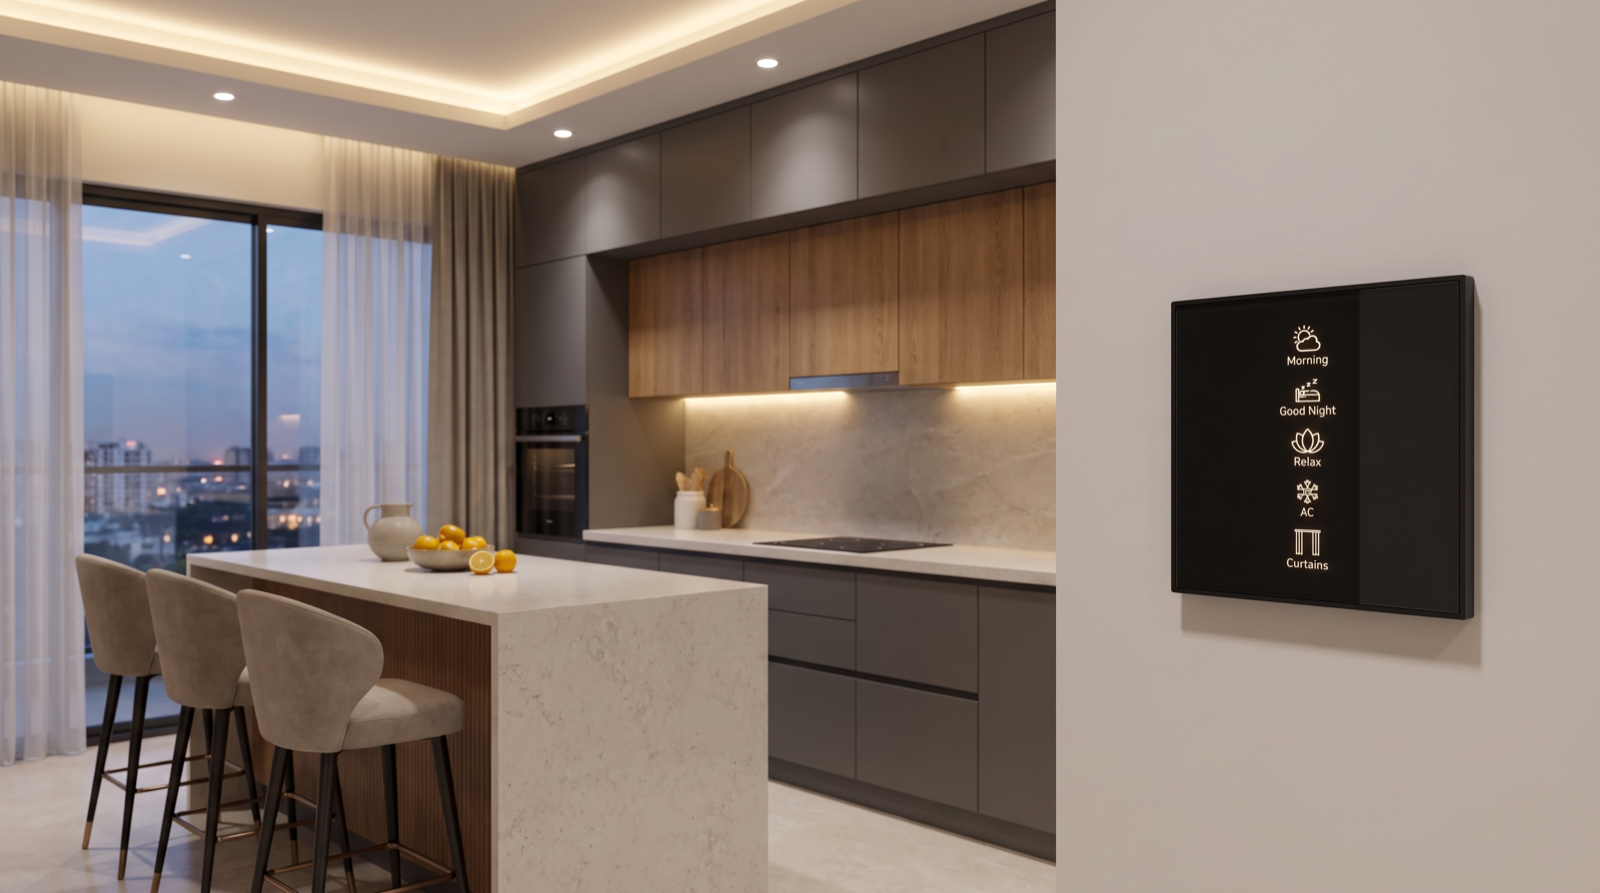
Put those on a wall keypad at the kitchen entry, at the point where you naturally walk in — one press each, no phone required, and legible to a house help or a visiting parent who has never seen the app. A second keypad near the utility or the dining edge is worth it in an open layout. For where keypads belong across the rest of the home, see how to plan keypads in a home, and for why scenes beat app-only gadgets, read this.
Two more control decisions worth making at the design stage. If your kitchen window faces west — very common in Hyderabad apartments — the counter gets hot, glary afternoon sun between roughly 3 and 6 p.m. that no amount of artificial light can compete with. Motorised curtains or blinds on that window, closing on a schedule, keep the counter workable and the kitchen cooler. And if you have a home security system, a door or motion sensor at the utility entrance is a sensible tie-in: it can trigger the kitchen night scene automatically instead of anyone hunting for a switch in the dark.
How Pert delivers it — a designed solution, not a DIY kit
Kitchen lighting fails on coordination, not on components. The lumen maths, the profile routing, the driver access, the dimming compatibility, and the scene programming have to be decided together — and agreed with your modular-kitchen vendor and electrician before the false ceiling closes. Pert is a solutions company: we do not hand you a box to fit yourself. We survey the kitchen zone by zone, produce a lighting layout with fixture types, positions, output and colour temperature, coordinate the profile and driver details with your carpentry, install and commission it, then program and label the scenes on your keypads and support the system afterwards. If you are comparing providers on this, read our guide to the best home automation companies in Hyderabad.
Planning or renovating a kitchen in Hyderabad? Get a designed lighting and scene layout for your kitchen — counter task light, tunable ambient layers, motorised shading, and keypad scenes, installed and commissioned by Pert. Request a consultation →
Frequently asked questions
How bright should kitchen lighting be?
Target roughly 300 lux of general light across the kitchen and 500–750 lux on the prep counter and hob. Practically: about 250–300 lumens per square metre of ambient light from ceiling fixtures, plus a dedicated under-cabinet run at 400–600 lumens per running metre onto the counter. The counter layer is the one most kitchens are missing.
Where should under-cabinet lights be mounted?
Along the front edge of the wall cabinet's underside, never at the back near the wall. Front mounting lights the front two-thirds of the counter where you work and keeps the diode line out of your eyeline. Always use an aluminium profile with a diffuser so you see a clean line of light rather than dots reflected in a glossy counter.
What colour temperature is best for a kitchen?
About 4000K on the counter and hob so you can judge food colour accurately, with ambient and dining-edge light kept warmer at 2700K–3000K. Tunable fixtures let one installation do both — cooler while cooking, warmer once the kitchen closes for the night.
Does a kitchen need a keypad if it is an open kitchen?
Yes — more so. An open kitchen shares light with the living and dining space, so you need one place to move between a bright cooking setting and a calm dining setting without touching several circuits. A single scene keypad at the kitchen entry does it in one press.