
In this guide
Almost every new flat and villa we work on in Hyderabad has a false ceiling, and almost every one of them has a cove somewhere. Yet the cove is usually drawn by the ceiling contractor as a shape, not by anyone as a light source — which is why so many finished homes have a cove that is either invisible or glaring. This article is part of our wider coverage of home automation in Hyderabad, and it deals specifically with getting the cove right before the ceiling closes.
What a cove actually does in a room
A cove is indirect light. The strip is hidden in a recess and points at the ceiling slab or the wall, so what you see is the reflected wash, not the LED. That gives you three things a downlight cannot: it lifts the ceiling visually and makes a 2.9m room feel taller, it fills the room with shadow-free ambient light that is kind to faces and to eyes at night, and it gives you a low-level glow you can leave on at 15% without lighting the room up.
What a cove is not is task light. A cove alone will not let you read comfortably on a sofa or chop vegetables — the light arrives from everywhere and lands softly, which is precisely why it flatters a room and fails a work surface. Plan it as the base layer and add task and accent light on top; more on that below.
The dimensions that decide everything
Cove quality is mostly geometry. Three numbers matter, and all three have to be fixed on the ceiling drawing, not decided on site.
1. Clear height above the strip: 100–150mm
This is the gap between the top of the LED strip and the slab or ceiling surface it is washing. Below about 100mm the individual LEDs have no distance to blend, so you get a row of bright dots and a harsh band right above the cove. At 100–150mm the beams overlap into a smooth gradient. In a home with a 3.0–3.2m slab height this is comfortable; in a low 2.7m flat you may need to accept a shallower cove and compensate with a high-density strip and a good diffuser.
2. Lip height above the strip: 50–75mm
The front lip is what hides the strip. It needs to be tall enough that a person standing anywhere in the room cannot see the LEDs directly. A useful check during design: draw a sight line from eye level (about 1.6m) at the far corner of the room to the strip — if it clears the lip, the lip is too short. Too tall, on the other hand, and the lip blocks the wash and you get a dull cove with a bright ceiling stripe.
3. Cove width / setback from the wall: 150–250mm
The horizontal recess needs enough width to mount the aluminium channel, run the wire, and leave a hand's access for servicing. Under about 150mm it becomes very hard to replace a failed strip later without cutting the ceiling. A 200mm cove is a comfortable, common figure for apartment living rooms.
One more, often forgotten: the cove should be continuous. Every break for a beam, a duct, or an AC return shows as a dark gap in the glow. Coordinate the cove route with the false-ceiling and HVAC drawings early — this is exactly the coordination we describe in when to plan home automation during construction.
Choosing the strip: lumens, density and CCT
Once the geometry is fixed, the strip decides the character of the light.
- Output. For a general ambient cove in a living room, roughly 700–1,200 lumens per metre of strip is the useful band. Below ~500 lm/m the cove tends to disappear once other lights are on; above ~1,500 lm/m it starts to compete with your main lighting and reads as a glowing ceiling rather than an ambience.
- LED density. Look for at least 120 LEDs per metre, and prefer 180–240 LEDs/m in shallow coves. Density, not wattage, is what kills the dotting.
- Colour temperature. 2700K–3000K is the right home range for a cove — warm, calm, evening-friendly. 4000K in a cove makes a living room feel like an office lobby. The better answer is a tunable strip that moves between roughly 2700K and 4000K so the same cove can support a bright morning and a soft night; we explain the reasoning in tunable and dimmable lights.
- Colour rendering. Insist on CRI 90+. Cove light bounces off your ceiling and walls onto everything in the room, so poor rendering makes wood, fabric, and skin tones look flat and grey.
- Consistency. Ask for strips from a single production batch (bin) for each continuous run. Mixed bins are the classic cause of one stretch of cove looking pinker or greener than the next.
- Channel and diffuser. Mount the strip in an aluminium profile with a frosted diffuser. The profile is a heatsink — which is what actually determines whether the strip still looks the same colour in year four — and the diffuser smooths the last of the dotting.
If you are also choosing between fixture types for the rest of the ceiling, our guide to panel vs COB vs strip vs spot lights covers where each one belongs. Planning the kitchen specifically? Task lighting there follows different rules — see how to plan kitchen lighting & automation.
Five mistakes that ruin a cove
- Treating it as a decorative shape. The most common failure: the ceiling design is finalised, and lighting is asked to "put a strip in the cove" afterwards. The recess ends up 60mm deep with a 20mm lip and nothing can save it.
- No driver access. LED drivers fail long before LED strips do. If the driver is sealed inside the ceiling with no service hatch or accessible point, a ₹1,200 component becomes a ceiling-cutting job. Every cove run needs its driver in a reachable location — above a wardrobe, near a service loop, or behind a removable panel.
- Ignoring voltage drop. A 12V strip run 8–10m from one end loses noticeable brightness along its length. Use 24V for long runs, feed long runs from both ends, and split very long perimeters into multiple circuits.
- Non-dimmable driver. A cove fixed at 100% is a wasted opportunity — the whole point is the range from a soft 10% night glow to full evening ambience. The driver and the strip must both be dimmable, and matched to the control system.
- Silicone-coated strips indoors. IP-rated silicone-sleeved strips trap heat, shorten life, and yellow over time. They belong on a balcony, not in a living-room cove.
Cove is one layer, not the whole scheme
A room lit only by cove light looks soft but strangely flat — nothing has emphasis. The cove should be the ambient base of a three-layer scheme:
- Ambient — the cove itself, plus any large diffused fixture, providing the overall level.
- Task — reading lights beside the sofa and bed, under-cabinet strips over kitchen counters, a focused light over a study desk. Task light needs to be brighter and more directional than the cove.
- Accent — narrow-beam spots on artwork, a wall texture, or a plant, typically at two to three times the surrounding level so the object actually stands out.
Getting all three from dimmable, tunable smart lighting is what allows one room to serve a bright weekday morning and a low-lit dinner without rewiring anything. And because the cove is the layer you see from every seat in the room, it is also the layer that most changes how the space feels — the point we make in how smart lighting is changing home interior ambience. For a full room-by-room approach, see how to plan smart lighting for a new home.
Wiring it for dimming and scenes
A cove is only worth building if you can actually vary it, and that decision has to be made before the ceiling closes. Practically, that means four things at the drawing stage: a dimmable constant-voltage driver sized with about 20% headroom over the strip load, correctly gauged low-voltage cabling for the run length, an accessible service point for each driver, and a control cable back to the automation panel so the cove is its own addressable circuit rather than being ganged onto the room's main light.
Once that groundwork exists, the cove becomes a dimmable layer inside scenes. In a typical Hyderabad living room we set it up roughly like this:
- Morning — cove at 60% and cooler around 4000K, spots off, curtains open.
- Evening — cove at 45% at 2700K, accent spots on artwork at 70%, warm and settled.
- Movie — cove at 10%, everything else off, just enough glow to walk around.
- Good Night — cove and all lighting off, curtains closed, security armed.
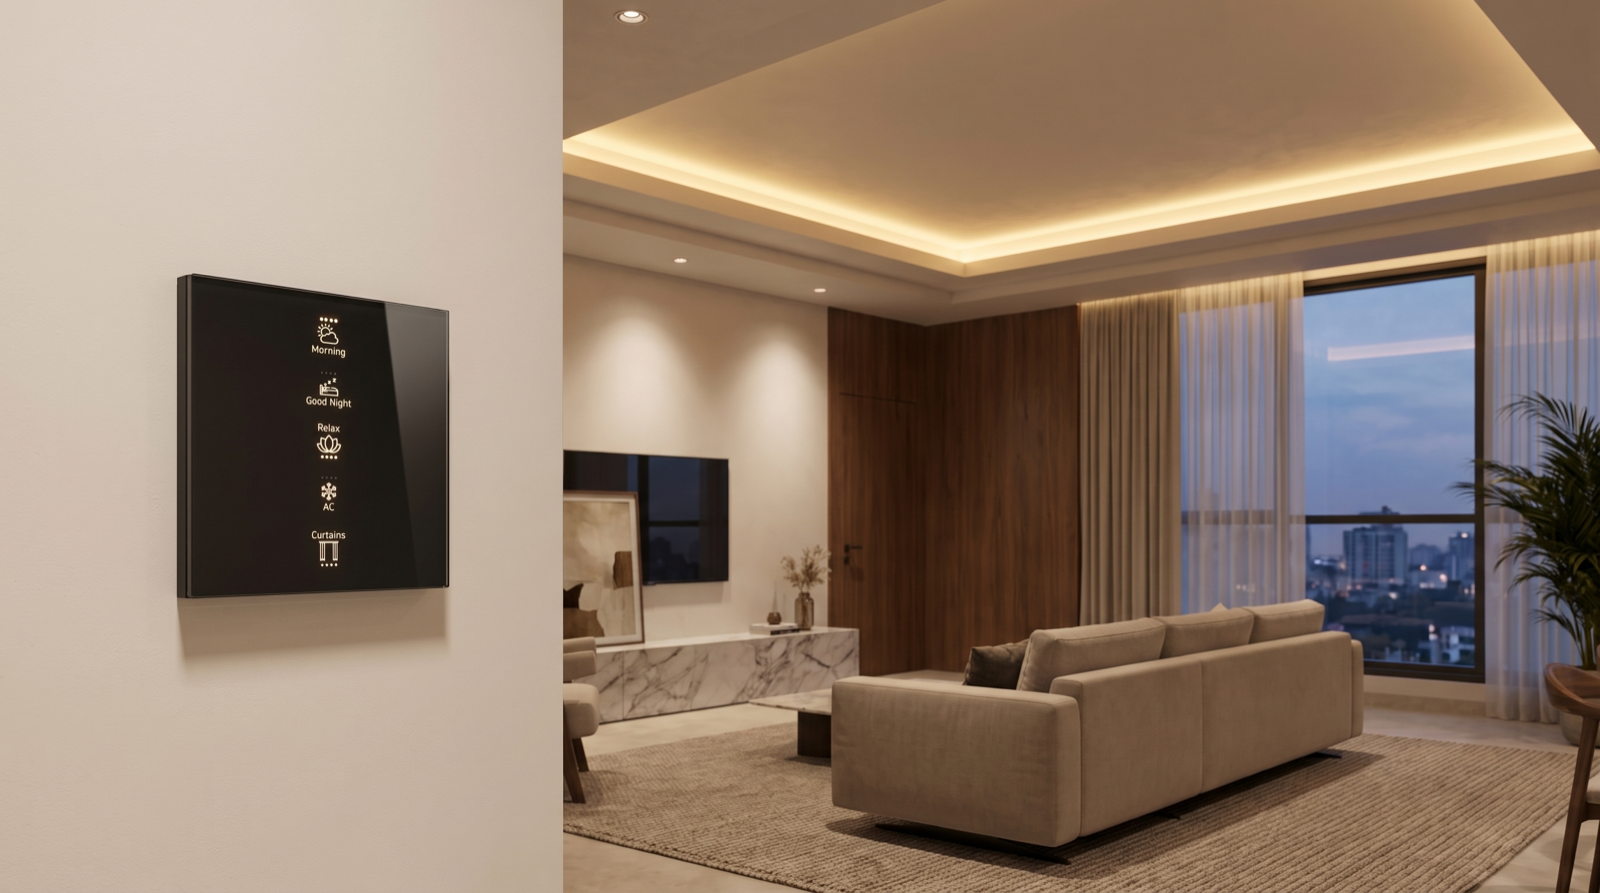
That is run from a wall keypad at the room entrance rather than only from a phone, so guests and grandparents use it as easily as you do — see how to plan keypads in a home for placement, and why scene-based automation beats app-only devices for the reasoning. The same scenes pull in motorised curtains and home security, so one press sets the whole room rather than one circuit.
How Pert delivers it — a designed solution, not a DIY kit
Pert is a solutions company: we design and install, we do not hand over a box of parts. On a cove-lighting project that means a site visit to measure ceiling heights and window positions, a lighting layout that marks cove routes, lip and depth dimensions, strip specification and driver locations on the same drawing your ceiling contractor works from, coordination with your interior designer and electrician before the gypsum closes, professional installation and commissioning, then scene configuration tuned in the finished room at night — because a cove level that looks right on paper rarely looks right at 9pm.
If you are adding a cove during a renovation rather than new construction, read can you add home automation during renovation in Hyderabad. And if you are comparing providers, our guide to the best home automation companies in Hyderabad covers what to check before you sign.
Planning a false ceiling in Hyderabad? Get the cove dimensions, strip spec, and dimming wiring designed before the gypsum closes — it costs nothing to change on a drawing and a great deal to change afterwards. Request a consultation →
Frequently asked questions
How deep should a cove be for cove lighting?
Keep at least 100–150mm of clear space between the strip and the surface above it, and set the front lip 50–75mm higher than the strip so the LEDs are never directly visible from standing eye level. Shallower coves show a hard bright band and visible dots instead of a smooth wash.
What colour temperature is best for cove lighting?
2700K–3000K for living rooms and bedrooms. Better still, use a tunable strip so the same cove runs cooler (around 4000K) during the day and warm at night.
Why does my cove lighting look patchy or show dots?
Usually one of four causes: too few LEDs per metre, the strip sitting too close to the ceiling above, the strip mounted on the wrong face of the cove, or mismatched strip batches joined in a single run. Higher density, adequate depth, a diffused aluminium channel, and one batch per run fix most of it.
Can cove lighting be dimmed and put on scenes?
Yes, if it is planned before the ceiling closes. It needs a dimmable driver, correctly sized cabling, an accessible service point, and a control wire to the automation panel. Pert then configures the cove as its own dimmable layer inside scenes like Evening, Movie, and Good Night, run from a wall keypad.