
In this guide
Dimming is the single feature homeowners enjoy most once a system is live, and the single feature most often delivered badly. We are called into finished flats and villas across the city every month to fix lighting that flickers, buzzes or refuses to go below a fifth of its output — and in nine cases out of ten the fixtures are fine and the driver is wrong. This article is part of our wider coverage of home automation in Hyderabad, and it deals specifically with the electrical layer that makes smooth dimming possible.
What an LED driver actually does
An LED is a low-voltage DC device. Your wall socket delivers 230V AC at 50Hz. The driver is the box that bridges those two worlds — it converts and regulates power so the LED receives a stable, correct supply. It comes in two families, and the distinction matters because they dim differently:
- Constant voltage (CV). Holds a fixed output, typically 12V or 24V DC, and lets the connected load draw the current it needs. This is what LED strip lighting uses — cove strips, under-cabinet strips, wardrobe strips. You size it by total wattage.
- Constant current (CC). Holds a fixed current, typically expressed as 350mA, 700mA or a programmable value, and varies its voltage to suit. This is what COB spots, downlights and most fixed luminaires use. You match it to the fixture's stated current, not just its wattage.
Putting a constant-voltage driver on a constant-current fixture, or the reverse, does not simply dim badly — it damages the fixture. That sounds obvious, yet it is a routine finding on sites where lighting was bought fixture-by-fixture from different vendors with no single drawing tying it together.
The second thing to understand: a driver being labelled "dimmable" tells you almost nothing on its own. Dimmable by what method, over what range, at what refresh frequency — those are the three answers that decide whether your evening scene looks beautiful or twitchy.
Six symptoms and what each one means
If you already live with the problem, this table of symptoms is the fastest route to a diagnosis.
1. Visible flicker or strobing at low levels
The light shimmers, or shows bands on a phone camera. Usually a low PWM refresh frequency: the driver is switching the LED on and off rapidly to create the dimming effect, and if it does so at only a few hundred hertz your eye — and every camera in the house — picks it up. Specify drivers with a PWM frequency above 3 kHz; above 20 kHz for anything in a home theatre, study or any room that gets filmed. The other common cause is a dimmer whose minimum load rating exceeds the actual LED wattage on the circuit.
2. Audible buzz or hum
A faint mechanical hum from the ceiling or the switchboard. Leading-edge TRIAC dimmers chop the mains waveform partway through each half cycle, and that abrupt step makes the magnetics inside the driver vibrate. Trailing-edge dimming is quieter; a low-voltage protocol that never touches the mains waveform is quieter still. Drivers running close to their maximum rating buzz more, which is why we leave headroom.
3. A dead band — nothing happens for the first third of the slider
You move the control from 100% down to 70% and the light does not change. This is a mismatch between the dimmer's output curve and the driver's response curve. It is characteristic of a TRIAC dimmer paired with an LED load it was never characterised against.
4. It will not go below about 20%, then snaps off
The most disappointing one, because the low end is the whole point of dimming. TRIAC dimming on LED loads typically bottoms out somewhere between 10% and 20%. If you want a genuine 1% night glow in a cove or a bedside circuit, you need a driver rated to dim to 1% and a protocol that supports it.
5. Ghosting — a faint glow when the light is off
A small leakage current is still reaching the driver, usually from a dimmer that needs a neutral it does not have, or from long parallel cable runs coupling capacitively. The correct fix is a proper neutral at the switch point and dimmers designed for LED loads, not a bleeder resistor bodged in afterwards.
6. Two strips at the same setting look different
One run of cove is warmer, pinker or dimmer than the next. Often mixed LED bins across a run rather than a driver fault — covered in our guide to planning cove lighting in a false ceiling — but it is also what voltage drop looks like when a long 12V strip is fed from one end only.
TRIAC vs 0–10V vs PWM vs DALI
Four methods dominate residential work. They are not interchangeable, and the choice has to be made before wiring, because two of them need a control cable that mains wiring does not provide.
TRIAC (leading- or trailing-edge phase dimming)
Dims by chopping the 230V mains waveform. Its one real advantage is that it needs no extra wire, so it is the default in retrofits. Its disadvantages are the list above: buzz, dead bands, a floor around 10–20%, and compatibility that has to be tested combination by combination. Acceptable for a single retrofit circuit; a poor foundation for a whole automated home.
0–10V (and 1–10V) analogue dimming
A separate low-voltage control pair carries a 0–10V signal to the driver, which maps it to output. Smooth, quiet, dims reliably to about 1% on good drivers, and cheap. The trade-off is that it is analogue and not addressable — each dimmable circuit needs its own control pair back to the panel. For most apartments and mid-size villas this is the practical sweet spot.
PWM dimming
The driver switches the LED fully on and off thousands of times a second and varies the duty cycle. It holds colour consistency far better than analogue current reduction, which is why it is the right choice for tunable-white strips where the two channels must stay in balance across the range. The only thing to police is refresh frequency — insist on the number, do not accept "high frequency" as a spec.
DALI
A digital, addressable, two-way bus. Every driver has an address, can be commanded individually or in groups without rewiring, and can report status back — including a failed driver, which on a large villa is genuinely useful. It costs more per point and needs commissioning by someone who knows the protocol. Worth it above roughly 40–50 independently controlled circuits, or wherever the lighting layout is likely to be regrouped later.
The short version for most Hyderabad homes: use 0–10V or PWM constant-voltage drivers for cove and strip lighting, 0–10V or DALI constant-current drivers for COB spots and downlights, and keep TRIAC for the odd retrofit circuit where no control wire exists. If you are still choosing fixture types, our guide to panel vs COB vs strip vs spot lights covers where each belongs.
The seven numbers on a driver spec sheet
When a vendor sends you a driver datasheet, these are the seven lines that decide whether your lighting works. Ask for all seven in writing.
- Type — constant voltage or constant current, and the output value (12V / 24V, or 350mA / 700mA / programmable).
- Rated output power — in watts. Your connected load should sit at roughly 70–80% of this, never at 100%.
- Dimming protocol — TRIAC, 0–10V, PWM, DALI. Written explicitly, not "dimmable".
- Dimming range — the honest low end, e.g. "1–100%" or "10–100%". This single number decides whether a 10% movie scene is possible.
- PWM frequency — above 3 kHz minimum; above 20 kHz for theatre, study and camera-facing spaces.
- Efficiency and power factor — look for efficiency above 85% and power factor above 0.9. Poor figures mean wasted heat inside your ceiling.
- Rated life and ambient temperature — typically 50,000 hours at a stated case temperature. That rating collapses in a sealed, unventilated ceiling void, which is the real reason drivers fail before strips do.
Add one non-numeric requirement: CRI 90+ on the fixtures themselves, and confirmation that colour temperature holds steady across the dimming range. Cheap tunable strips shift green at low output. The reasoning behind specifying tunable and dimmable throughout is in tunable and dimmable lights, and the room-by-room CCT values in our colour temperature guide.
Sizing, load and voltage drop
Three calculations, all done at the drawing stage.
Headroom: load at 70–80% of rating
A 14.4 W/m strip over a 6m cove run draws about 86W. Do not put that on a 100W driver — use a 150W unit, or split it. Driver life is dominated by internal temperature, and a driver at 95% load runs hot, buzzes more, and dies years early in a closed ceiling.
Voltage drop: choose 24V, and feed from both ends
A 12V strip loses noticeable brightness along its length past roughly 5m from a single feed, so the far end of a long cove looks dimmer than the near end. 24V roughly halves the current for the same power and pushes that limit out. For any perimeter cove above about 8m, feed the run from both ends or split it into separate circuits with their own drivers.
Minimum load on the dimmer
Every dimmer has a minimum load below which it behaves erratically. Two 4W LED spots on a dimmer rated from 25W will flicker — not because the spots are faulty but because the circuit is below threshold. Check the dimmer's minimum against the real connected wattage, not against what an equivalent halogen circuit used to draw.
A pre-ceiling checklist
Everything below is free to change on a drawing and expensive to change after the gypsum closes.
- Every dimmable circuit identified on the lighting drawing, with its driver type, wattage and protocol named.
- A service hatch or accessible location for every driver — above a wardrobe, near a service loop, behind a removable panel. Drivers fail; strips mostly do not.
- Control cable (0–10V pair or DALI bus) pulled to every dimmable circuit, back to the automation panel.
- Neutral available at every switch point.
- Ventilation for driver locations — no sealed, insulated pockets.
- Load calculations recorded per driver, with headroom shown.
- Cable gauge specified for each low-voltage run length.
- A sample of the actual strip, driver and dimmer combination tested together, on site, before bulk ordering.
That last point is the one people skip and regret. Compatibility claims on a box are not a test. If you are still at the structural stage, when to plan home automation during construction sets out the right sequence.
How Pert delivers it — a designed solution, not a DIY kit
Pert is a solutions company: we design and install, we do not hand over a box of parts and a compatibility chart. On a project where dimming quality matters, that means a site visit to measure ceiling voids, run lengths and window positions; a lighting drawing that names the driver type, protocol, wattage and service location for every dimmable circuit, issued to your electrician and ceiling contractor together; a physical bench test of the exact strip, driver and control combination before bulk supply; coordination so the control cabling is pulled before the ceiling closes; professional installation and commissioning; and finally scene calibration done in the finished room at night, because a dim level that reads correctly on a drawing rarely reads correctly at 9pm.
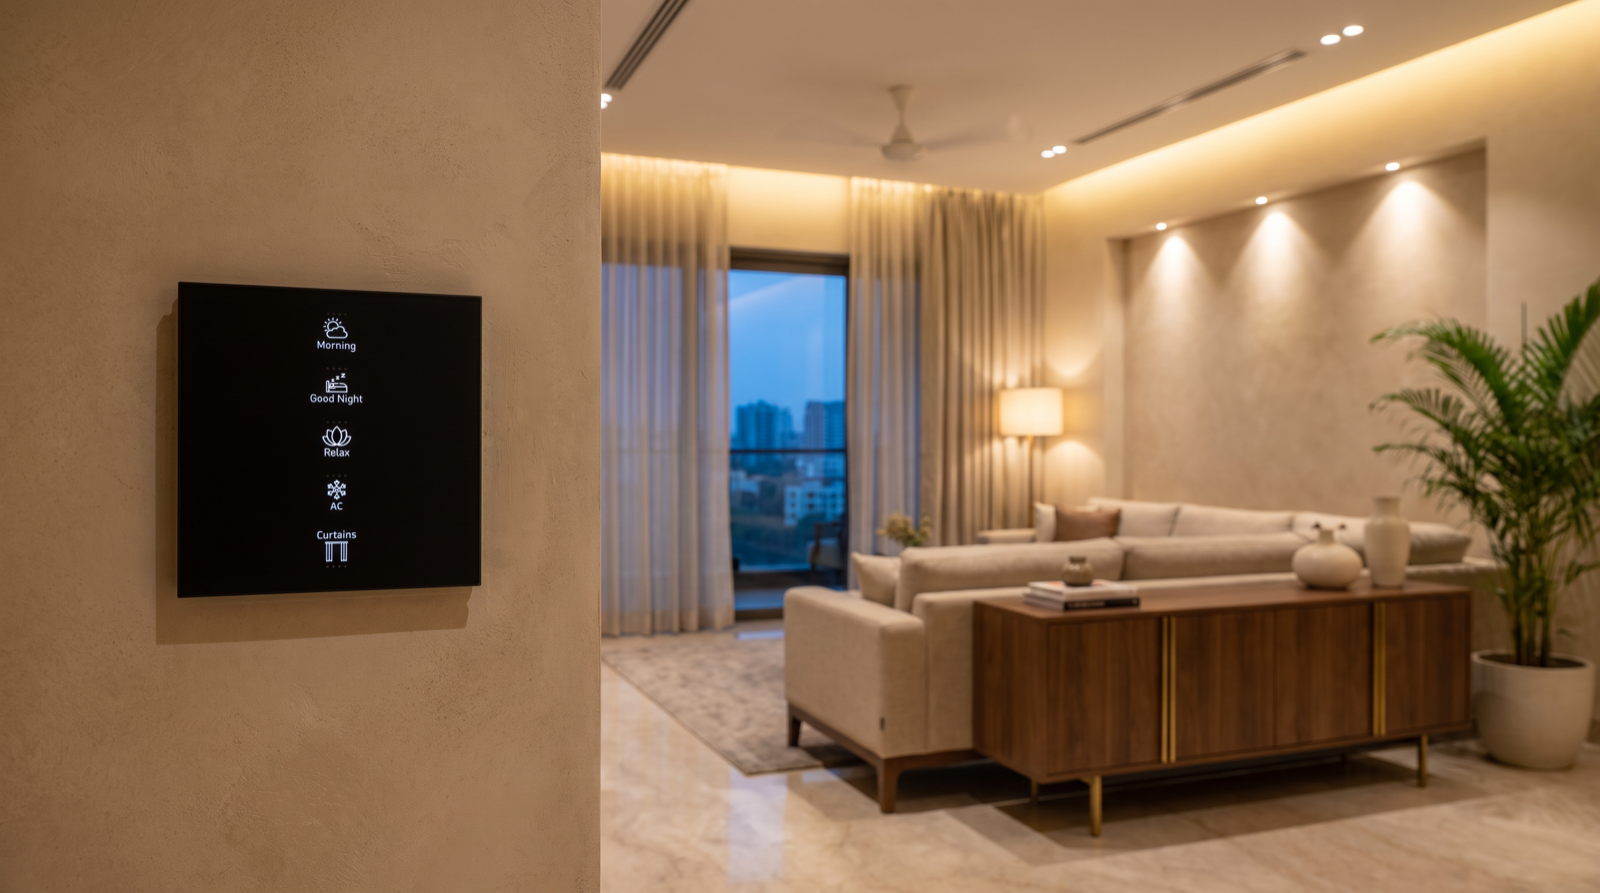
Once the electrical layer is right, the lighting becomes a controllable layer inside scenes rather than a set of switches. A typical living room runs Morning at 60% and cooler, Evening at 45% and warm, Movie at a genuine 10%, and Good Night off with motorised curtains closed and home security armed — all from a wall keypad at the room entrance rather than a phone. That is the argument in why scene-based automation beats app-only devices, and none of it works if the driver cannot reach 10% without flickering. For the wider lighting plan, see how to plan smart lighting for a new home; if you are comparing providers, our guide to the best home automation companies in Hyderabad covers what to check before you sign — and asking a company to name the driver protocol and dimming range they will supply is one of the fastest tests of whether they design or merely resell.
Planning dimmable lighting in Hyderabad? Get the driver type, protocol, load calculation and service access fixed on the drawing — flicker and buzz are almost impossible to fix cheaply once the ceiling is closed. Request a consultation →
Frequently asked questions
Why do my LED lights flicker when dimmed?
Almost always the driver and dimmer are mismatched. The three usual causes are a non-dimmable driver being fed a chopped mains waveform by a TRIAC dimmer, a dimmer whose minimum load rating is higher than the actual LED load on the circuit, and a low PWM refresh frequency inside the driver. A dimmable driver of the correct protocol, loaded within its rated range, with a PWM frequency above about 3 kHz, removes visible flicker.
Why do my dimmable LED lights buzz or hum?
The noise comes from the driver, not the LED. A leading-edge TRIAC dimmer switches the mains on partway through each half cycle, and that sharp step makes the magnetics inside the driver vibrate. Trailing-edge dimming is quieter, and a low-voltage protocol such as 0–10V or DALI — which never chops the mains waveform — is quieter still. Leaving about 20% headroom on the driver load also helps.
Which dimming protocol is best for a home: TRIAC, 0–10V or DALI?
Avoid TRIAC where you can. It needs no extra wire, which is why retrofits use it, but it causes most flicker, buzz and dead-band complaints and typically bottoms out at 10–20%. 0–10V and PWM drivers dim smoothly to roughly 1% and are the practical default for cove strips and COB spots. DALI adds addressable per-fixture control and status feedback, and earns its cost on large villas with many independently controlled circuits.
Can flickering LED lights be fixed after installation?
Sometimes. If the driver is accessible, replacing it with a correctly matched dimmable driver solves most cases. What cannot be fixed cheaply is a driver sealed inside a closed false ceiling with no service hatch, or undersized low-voltage cabling already buried. That is exactly why we fix driver type, load calculation and service access on the drawing before the ceiling closes.