
In this guide
This article is part of our wider coverage of home automation in Hyderabad. If you want to see how individual scenes are designed, our guide to designing home automation scenes has eight worked examples; this one is about how the whole design is written down.
Why a written design matters
Without a written design, a smart home is programmed from memory on site. That is how you end up with a Relax button that does something different in each room, curtains that are not part of Good Night, and an installer who cannot remember, a year later, why the dining pendant stays on. A scene matrix fixes three problems at once:
- You can approve the behaviour before installation, on paper, when changes are free.
- Commissioning becomes checkable. Each cell is a test: press the button, confirm the room matches the table.
- The home stays serviceable. Whoever maintains it later, or whoever buys the house, can see exactly what the system is meant to do.
The four documents
| Document | What it lists | Answers the question |
|---|---|---|
| Device schedule | Every controllable load and device, by room, with a short ID, type and location | “What is there?” |
| Keypad map | Every keypad, its location, and what each button does on a press | “What happens when I press this?” |
| Scene matrix | Scenes as rows, devices as columns, with the setting for each | “What does each scene set?” |
| Automation register | Every rule: trigger, conditions, action, and how it is overridden | “What happens by itself?” |
Consistent names across all four documents matter. Our guide on naming rooms, devices and scenes explains how to choose names that work in the app, by voice and on keypad engraving.
Worked example: the room and its devices
Take a combined living and dining room in a 3BHK Hyderabad apartment: a west-facing window wall, a sofa area facing the TV, and a six-seater dining table. The device schedule for this space looks like this:
| ID | Device or load | Type | Location |
|---|---|---|---|
| LV-L1 | Cove light | Dimmable, tunable white | False ceiling perimeter |
| LV-L2 | Downlights, sofa zone | Dimmable, tunable white | Ceiling over sofa |
| LV-L3 | Feature wall light | Dimmable | TV wall |
| DN-L1 | Dining pendant | Dimmable | Over dining table |
| DN-L2 | Downlights, dining zone | Dimmable, tunable white | Ceiling over dining |
| LV-C1 | Sheer curtain | Motorised track | Window wall |
| LV-C2 | Blackout curtain | Motorised track | Window wall |
| LV-AC | Split AC | Controlled via IR | Living |
| LV-S1 | Motion sensor | Battery | Living ceiling |
| EN-D1 | Main door contact | Battery | Main door |
The keypad map
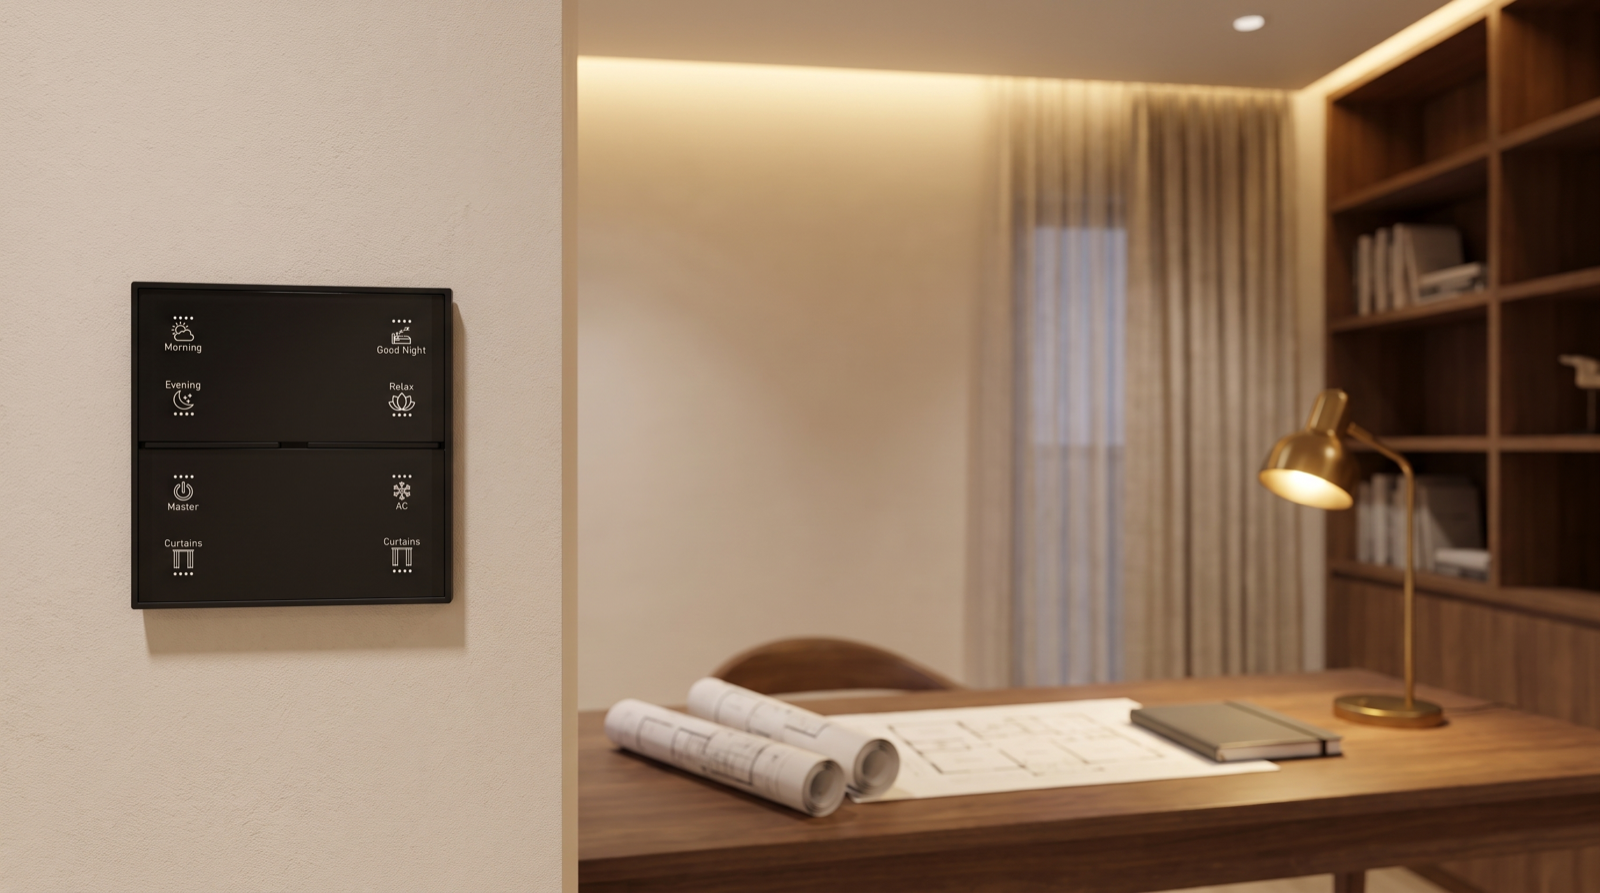
This room has two keypads: one at the entrance into the living room, and one by the dining area. Using the eight-button layout of a Stella keypad, the map reads:
| Keypad | Button | Press | Press again |
|---|---|---|---|
| KP-LV1 (living entrance) | Morning | Scene: Morning | — |
| Evening | Scene: Evening | — | |
| Good Night | Scene: Good Night (whole apartment) | — | |
| Relax | Scene: Relax | — | |
| Master | All lights, AC and living curtains to off/closed | — | |
| Curtains (top) | Sheer LV-C1 open/close | Stops if moving | |
| AC | LV-AC on at 24°C | LV-AC off | |
| Curtains (bottom) | Blackout LV-C2 open/close | Stops if moving |
The dining keypad repeats the scene buttons and replaces Relax with a dining scene. Note what the map settles in advance: Master covers the whole apartment, while Good Night has its own whole-home definition; each Curtains button controls one track. How button behaviours such as toggle, long-press and hold-to-dim work is explained in our guide to how smart keypad buttons work, and placement and labelling in how to plan keypad layouts and engraving.
The scene matrix
This is the heart of the design. Each row is a scene; each column is a device from the schedule. Every cell is filled in, including “no change”, so nothing is left to the programmer’s guess.
| Scene | LV-L1 cove | LV-L2 sofa | LV-L3 feature | DN-L1 pendant | DN-L2 dining | LV-C1 sheer | LV-C2 blackout | LV-AC |
|---|---|---|---|---|---|---|---|---|
| Morning | Off | 40%, 5000K | Off | Off | 40%, 5000K | Open | Open | No change |
| Evening | 70%, 3000K | 60%, 3500K | 50% | 50% | 50%, 3500K | Closed | Open | No change |
| Relax | 40%, 2700K | 15%, 2700K | 30% | Off | Off | Closed | Open | No change |
| Dinner | 30%, 2700K | 10%, 2700K | 20% | 70% | 30%, 3000K | Closed | No change | No change |
| Good Night | Off | Off | Off | Off | Off | Closed | Closed | Off |
| Master | Off | Off | Off | Off | Off | Closed | Closed | Off |
Two details worth noticing. First, “No change” is a deliberate choice: Evening does not touch the AC, because whether it is on depends on the weather and who is home. Second, Good Night and Master look the same in this room, but differ elsewhere: Good Night leaves a bedroom path light on and arms the perimeter, while Master is for leaving. The whole-home version of the matrix makes that visible.
The automation register
The last table lists everything that happens without a button press. Each rule has a trigger, conditions, an action and, crucially, an override.
| Rule | Trigger | Conditions | Action | Override |
|---|---|---|---|---|
| A1 Afternoon shading | 2:30 pm | Home mode; March to October | LV-C1 sheer closed | Any curtain button cancels until next day |
| A2 Arrival light | EN-D1 opens | After sunset; lights off | Scene: Evening | Any scene button takes over |
| A3 Empty room | LV-S1 no motion 30 min | Not in Relax or Dinner | LV lights off, LV-AC off | Any button press restarts the timer |
| A4 Away reminder | Away mode set | LV-C1 or LV-C2 open | Notification to owners | Information only |
If you have ever wondered why your home did something unexpected, the automation register is where the answer lives; our guide to tracing unexpected automations shows how to use it.
How to review and sign it off
Ask for these documents before installation and spend an hour with them. Check:
- Every device in the schedule appears in at least one scene or button. Orphan devices are usually forgotten, not intended.
- Every cell of the scene matrix is filled in, including “No change”.
- Scene names mean the same thing in every room. If Relax is dim and warm in the living room, it should not be bright in the bedroom.
- Master and Good Night cover the whole home, including curtains and AC, and you agree with what each leaves on.
- Every automation has an override you can reach from a keypad, not only from the app.
- Keypad engraving matches the keypad map exactly.
- The documents carry a version number and date, and the installer commits to updating them when anything changes.
At handover, the same tables become your test sheet; our handover and testing checklist covers how to work through them.
How Pert delivers it — a designed solution, not a DIY kit
Pert designs every project on paper before anything is installed: the devices in each room, what each Stella keypad button does, what every scene sets for tunable and dimmable lighting and motorised curtains, how security devices join in, and which automations run by themselves. You review and approve it; our team then installs and commissions it on one Zigbee network through the Pert gateway, tests it against the same tables and keeps them updated as your home changes. When you compare installers, ask each one to show you a sample of their design documentation; our guide to the best home automation companies in Hyderabad lists more questions to ask.
Want to see exactly what your smart home will do before it is installed? We design and install lighting, curtains, keypads, scenes and security for apartments and villas across Hyderabad, with every button and scene planned and documented. Request a consultation →
Frequently asked questions
What is a scene matrix in home automation?
A scene matrix is a table with scenes as rows and devices as columns, showing exactly what each scene sets: the level and colour temperature of each light group, the position of each curtain and the state of the AC. Every cell is filled in, including no change, so the behaviour is agreed before installation and can be tested cell by cell at handover.
What documents should a home automation installer give me?
At minimum a device schedule listing every controllable device by room, a keypad map showing what each button does, a scene matrix showing what each scene sets, and an automation register listing every rule with its trigger, conditions, action and override. Each should carry a version number and date and be updated whenever the system is changed.
Should I review the scene matrix before installation?
Yes. Changes on paper are free, while changes after installation mean reprogramming and sometimes re-engraving keypads. Check that every device is used, that scene names mean the same thing in every room, that Master and Good Night cover curtains and AC as you expect, and that every automation can be overridden from a keypad.
Why does a smart home need an automation register?
Because automations are the part of a smart home that act without anyone pressing a button, and they are the usual source of surprises. A register lists each rule's trigger, conditions, action and override, so when the house does something unexpected, you or your installer can find the responsible rule quickly instead of guessing.