
In this guide
- Why placement beats specification
- The numbers: heights, angles, lenses and pixels per metre
- Where the cameras go: villa and apartment layouts
- Night, weather and the Hyderabad sun
- Sensors: motion, contacts and the front door
- Storage, bandwidth and where the recorder lives
- Making security talk to lights and curtains
- Points and cables to leave before plastering
- Privacy, staff and the rules of a shared building
- How Pert delivers it (designed, not DIY)
- FAQs
This article is part of our wider coverage of home automation in Hyderabad, and it deals with the part of a smart home that is never noticed until the one night it is needed.
Why placement beats specification
Take two systems. The first has eight 8MP cameras mounted high on the parapet, giving a beautiful wide view of the compound, and a 60-second clip of an incident in which the person responsible is a moving grey shape. The second has four 4MP cameras: one at the gate at chest height covering the only path in, one under the porch at 2.5m facing anybody who approaches the door, one on the service side, one on the terrace stair. The second system identifies people. The first documents weather.
The difference is a single idea: a camera's value is decided by how many pixels land on the thing you care about, and that is a function of distance and lens angle, not of the number printed on the box. Spreading an 8MP sensor across a 25m-wide scene puts fewer pixels on a face than a 4MP sensor across a 6m doorway. Plan for the target, not the view.
The second idea is that cameras record, they do not prevent. Prevention comes from sensors that notice an opening at 2am and from lights and curtains that make an empty house look occupied. A camera tells you what happened; a contact sensor and an occupancy routine change whether it happens. That is why cameras, sensors and the rest of the security hardware should be planned as one system alongside the lighting and curtains, rather than bought separately from three vendors. Our overview of the equipment itself is in smart home security in Hyderabad: locks, cameras and sensors that work together; this guide is about where all of it physically goes.
The numbers: heights, angles, lenses and pixels per metre
1. Mounting heights
- Identification cameras (gate, front door, service door): 2.4 to 2.7m, tilted down 10 to 15°. High enough to be out of casual reach, low enough that a face at 3 to 5m sits in the middle of the frame.
- Overview cameras (driveway, compound, parking): 3.0 to 3.5m, tilted down 15 to 25°. These give context and movement, not identity.
- Indoor cameras: 2.2 to 2.5m, in a corner looking back towards the entry point of the room.
- Video door phone / doorbell camera: lens at 1.5 to 1.6m, which frames an adult's face and still shows a child or a parcel on the floor.
- Indoor answering panel: 1,400 to 1,500mm to the screen centre, usually next to the entrance keypad at 1,150 to 1,250mm.
The most common mistake in Indian homes is the parapet-mounted camera at 4m. It is safe from tampering and it captures almost nothing usable about a person. If a position must be high, accept that it is an overview camera and add a low one at the choke point.
2. Lens, field of view and the distance trade
The lens sets how wide the scene is, and the scene width sets how many pixels land on a person:
- 2.8mm lens: roughly 100° horizontal. Wide, good for a porch, a foyer or a small courtyard at 3 to 6m.
- 4mm lens: roughly 80°. The general-purpose choice for a driveway or a gate approach at 6 to 10m.
- 6mm lens: roughly 55°. For a long approach, a boundary run or a corridor where you need reach rather than width.
- Varifocal (2.8 to 12mm): costs more, but lets the angle be set on site once the compound wall, the gate and the plants are actually there. Worth it on the one or two positions that matter most.
3. Pixels per metre — the rule that settles arguments
The industry benchmarks for what an image can support are approximately:
- Detection — somebody is there: ~25 pixels per metre of scene width.
- Recognition — you can tell it is a person you know: ~125 px/m.
- Identification — a stranger's face is usable to a third party: ~250 px/m.
The maths is simple. A 4MP camera is 2560 pixels wide. With a 2.8mm lens at 100°, the scene is about 2.4 times as wide as the distance: at 5m that is roughly 11.9m wide, so 2560 ÷ 11.9 = ~215 px/m — solid recognition, close to identification. At 10m the same camera gives about 107 px/m, which is recognition at best. At 20m it is around 54 px/m: you will see that a person crossed the drive, and nothing more.
So the rule of thumb for a 4MP camera on a 2.8mm lens: identification up to about 4m, recognition to about 9m, detection beyond that. Want a face at 10m? Use a narrower lens, or move the camera closer to the path everyone must take. This one calculation, done at planning stage for each position, prevents most of the disappointment that comes eighteen months later.
4. Angles and framing
- Tilt down 10 to 15° for identification positions; a face needs to be seen, not the crown of a head.
- Face the approach, not the door. A camera aimed at the doorway sees the back of a head as somebody enters. Aimed down the approach path, it sees a face for several seconds.
- Overlap adjacent cameras by 10 to 15 percent of frame width so there is no seam a person can walk along.
- Keep the horizon out of the top third outdoors, or the sky drives the exposure and everything below it goes dark.
- Mind the planting. A camera commissioned against a young hedge is blind two monsoons later. Frame with the mature plant in mind and put trimming on the maintenance list.
Where the cameras go: villa and apartment layouts
List every point a person can physically enter through. Cover each one. Then cover the approach. Everything else is optional.
An independent villa — six to ten cameras
- Main gate, 4mm lens at 2.5m, facing outward down the approach so anybody arriving is framed before they reach the gate.
- Porch / main door, 2.8mm at 2.5m under the soffit, angled across the path to the door rather than at the door.
- Driveway and parking, 4mm at 3m — an overview position, and the one that most often settles a dispute about a vehicle.
- Each side setback, 2.8mm at 3m. These narrow strips are the classic blind spot and the classic access route.
- Rear or service door, 2.8mm at 2.5m. Statistically more important than the front door and routinely left out.
- Terrace stair head, 2.8mm at 2.5m, covering roof access from a neighbouring wall.
- Optional interior: one camera in the foyer or main stair covering the internal circulation route.
A 3BHK apartment — two to four cameras
- Main door, ideally as a video door phone at 1.5m plus, if the lobby allows it, a small camera covering the landing approach.
- Utility / service balcony door, the entry point that gets used by everyone and watched by no one.
- Main balcony, if the flat is on a low floor or adjacent to a terrace or a ledge.
- Living area, optional, and best chosen as a camera that can be physically or logically disabled when the family is home.
In a gated community, check the association's rules before mounting anything that looks into a common corridor or another flat's door; several Hyderabad societies have a written position on this. Planning notes specific to flats are in home automation solutions for apartments in Hyderabad.
Night, weather and the Hyderabad sun
Infra-red distances are marketing distances
A camera advertised with "30m IR" will typically give you detection at that distance and usable recognition at roughly a third of it. Plan night performance at 8 to 12m for a normal home camera and be pleasantly surprised if it does better. IR also flattens everything to monochrome and blows out anything close and pale — a white wall or a parked car 1.5m in front of the lens will glare and force the rest of the frame dark.
Low light beats infra-red where you can arrange it
A camera with a decent sensor plus even a small amount of ambient light will give a far more useful colour image than the same camera in IR mode. This is where security placement and lighting placement stop being separate exercises: a warm, low-level wall light or a bollard at the gate, running at 10 to 20 percent all night, converts a monochrome IR frame into a colour one that shows clothing, a vehicle colour and a face. Levels, IP ratings and beam angles for that layer are in how to plan balcony, façade and outdoor lighting. Do not point a bright fixture at the camera or immediately beside it — light the surface the person will be standing on, from the side.
Rain, sun and dust
- Mount under a soffit, eave or purpose-made hood. An IP66 housing keeps water out of the electronics; it does not keep rain off the glass, and a wet lens with IR on is a white blur.
- Avoid pointing west into the afternoon sun or straight at a bright entrance light — the exposure will protect the bright area and silhouette the person.
- Budget a lens wipe into the twice-yearly service visit. In Hyderabad, dust film on outdoor lenses is the single biggest cause of quiet image degradation over a year, which is one reason an annual maintenance arrangement is worth having.
- Give every outdoor camera a drip loop in its cable and seal the wall entry, not just the connector.
Sensors: motion, contacts and the front door
Cameras document. Sensors are what actually let a system react — turn lights on, notify a phone, sound a siren — while something is still happening.
PIR motion sensors
- Mount at 2.1 to 2.4m, typically in a corner, with a coverage pattern of roughly 110° over 10 to 12m.
- Aim across the likely path of travel, not along it. A PIR detects a body crossing its detection beams much faster than one walking straight at it — the single most useful thing to know about these devices.
- Keep them away from air-conditioner outlets, direct sun through glazing, and any surface that heats up quickly, since PIRs respond to moving heat.
- Use pet-immune models where a dog or cat is at home, and keep sensors above the height a pet can climb to.
- Indoors, sensors on circulation routes — the foyer, the stair, the corridor — catch anything moving through the house. The same devices then drive night lighting, as covered in staircase and corridor lighting with motion sensors.
Door and window contacts
- Mount on the opening edge, magnet on the moving leaf, aligned within the manufacturer's gap tolerance — usually about 10 to 15mm.
- Cover every external door and every window a person could realistically climb through: ground floor, anything off a terrace or ledge, and the utility balcony.
- Decide before the joinery is made whether contacts are recessed or surface-mounted. A recessed contact in a wooden door frame is invisible and permanent; a surface one added later is neither.
- Contacts are also the cheapest way to answer everyday questions — whether the main door is open, whether the terrace door was left unlatched — which for many families turns out to be their most-used security feature.
The front door itself
A video door phone with an outdoor unit at 1.5m and an indoor panel near the entrance keypad handles the day-to-day: deliveries, staff, visitors, and a record of who rang while nobody was home. If you add a smart lock, plan the access method for the people who legitimately need entry — a code for house help that can be revoked, a separate one for a relative — and keep a mechanical key path that works when power and internet do not. What happens in an outage is covered in do smart homes work during power cuts and internet outages, and this whole area matters most in homes with elderly parents living independently.
Storage, bandwidth and where the recorder lives
How much disk
A 4MP camera in H.265 at about 4 Mbps continuous produces roughly 43GB per camera per day. So:
- 4 cameras, continuous, 30 days: about 5.2TB.
- 6 cameras, continuous, 30 days: about 7.8TB.
- 6 cameras, motion-triggered with pre-roll: typically 60 to 75 percent less, so roughly 2 to 3TB for the same 30 days.
A sensible middle path is continuous recording on the two or three positions that matter (gate, main door, service door) and motion-triggered recording with a few seconds of pre-roll everywhere else. Decide the retention period first: 7 days sounds adequate until you return from a two-week holiday and find the relevant footage has already been overwritten. Use surveillance-rated drives, not desktop ones — the workload is continuous writing.
Network
- Run CAT6 to every camera position and use PoE. One cable for power and data, no adapter hidden in a ceiling, no separate 230V point outdoors.
- Keep runs under 90m per cable, and terminate at a small switch and recorder in one place.
- Cameras mostly consume upload bandwidth, and Indian broadband is asymmetric. Six cameras streaming remotely at once will saturate a modest upload link; use sub-streams for live phone viewing and pull the main stream only when you need detail.
- Put the recorder, switch and router on a UPS. Cameras that die with the power are cameras that are absent exactly when a power cut is convenient for somebody else.
Where the recorder goes
Not in the entrance hall where it is visible, and not in a sealed cupboard where it cooks. A ventilated, lockable spot — a utility cupboard, a service area, a dedicated niche in the AV rack — with the network gear, on the UPS, behind a hatch that can actually be opened for service. And when an incident does occur, export the clip off the device the same day; the recorder is itself stealable.
Making security talk to lights and curtains
This is the part that separates a security installation from an automated home, and it costs nothing extra once the devices are on one system.
- Away. One press on the way out: all lights off, drapes closed, sensors armed, and an occupancy routine that runs a couple of lights and the living-room drapes on a varied evening schedule. A house with curtains frozen open for nine days advertises itself far more clearly than one with an unlit porch.
- Night arrival. The gate sensor or gate camera triggers the porch and driveway lights to 60 percent for three minutes. Useful, and visible to anyone watching.
- Goodnight. Perimeter contacts armed, internal motion sensors off so nobody trips them at 2am, corridor lights set to a 5 to 10 percent night level on motion.
- Alarm response. If a contact opens while armed: internal lights to 100 percent, external lights to full, a notification to two phones. Light is a genuine deterrent and it is already installed.
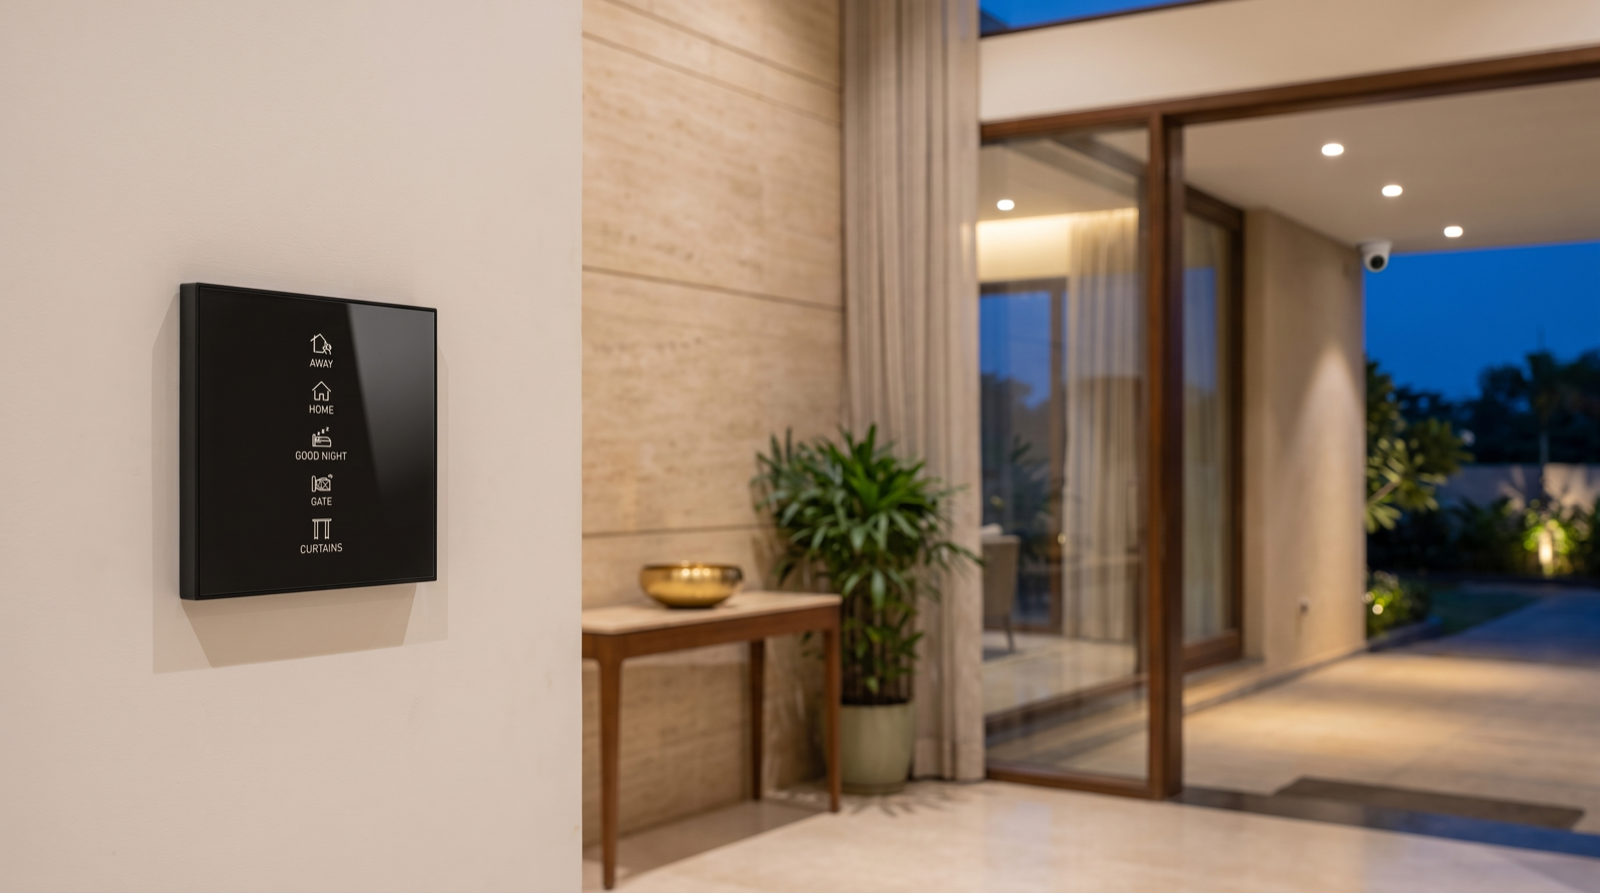
- Keep the interface to buttons. Arming and disarming has to be a single labelled press on an entrance keypad that a parent or a guest can use correctly the first time. A security system that requires an app to arm gets left unarmed — the reasoning is in why scene-based automation beats app-only smart devices, and more worked scene examples are in how to design home automation scenes.
Points and cables to leave before plastering
All of this is cheap at conduit stage and ugly or impossible afterwards. This is the list to hand your electrician.
- CAT6 to every camera position, with a 300mm service loop coiled at each end, run back to a single recorder location.
- Two spare camera drops — one at the rear, one at the terrace stair. You will want at least one of them, and pulling a cable later means opening a wall.
- A recorder niche with 230V, ventilation, a lockable door and space for the switch, router and UPS.
- A video door phone conduit from the gate or main door to the indoor panel position, coordinated with the door frame and the entrance keypad box.
- Contact-sensor provision at every external door and accessible window, decided with the carpenter and fabricator before the frames are made, not after.
- Motion sensor points at 2.1 to 2.4m on the foyer, stair and corridor circulation routes.
- An outdoor lighting circuit at the gate, porch and side setbacks, dimmable and automated, so the night-time image is a colour one.
- A siren position outdoors, high and awkward to reach, with its cable run.
- Neutral wires terminated at every switchboard, which is the precondition for automating the lighting the security scenes depend on.
How this fits the overall build sequence is in when to plan home automation during construction, and the keypad and control-point side of the same drawing is in how to plan keypads in a home.
Privacy, staff and the rules of a shared building
A camera layout is also a set of decisions about people who have not consented to being filmed, and it is worth being deliberate about them.
- Never point a camera into a neighbour's window, door or private open space. Beyond the obvious discourtesy, it is the fastest route to a complaint to the association. Use privacy masking to black out any part of the frame that unavoidably includes someone else's property.
- No cameras in bedrooms or bathrooms. Not for children, not for staff, not "just for a while".
- Tell household staff where the cameras are. Covert recording of people who work in your home is both a legal risk and an unnecessary one; open cameras deter, hidden ones only record.
- Interior cameras should be disable-able, logically through the Home scene or physically. Many families are comfortable with an indoor camera while away and not at all while at home.
- Check the society bye-laws before mounting anything covering a common corridor, lift lobby or shared driveway.
- Treat the footage as sensitive. Strong, unique passwords on the recorder and the app, no default credentials left in place, firmware kept current, and remote access through the manufacturer's proper channel rather than by opening ports on your router.
How Pert delivers it — a designed solution, not a DIY kit
Pert is a solutions company: we design and install. For security that work starts on site, not on a brochure, because camera placement can only be decided by standing at the gate, at the service door and on the terrace stair and asking what a person would actually do. We walk the property, mark every entry point, choose the lens and height for each position against a pixels-per-metre target, and issue a drawing that fixes camera positions with mounting heights and tilt, lens selection per position, the CAT6 routes and spare drops, the recorder niche with power, ventilation and UPS, contact-sensor provision for the carpenter and fabricator, motion-sensor positions and heights, the outdoor lighting circuits that make night footage usable, and the keypad positions and engraving for arming and disarming — issued to your electrician, carpenter and false-ceiling contractor together, before plastering.
We supply the cameras, sensors and security hardware, the tunable and dimmable lighting, the motorised curtain tracks and motors and the wall keypads, install and commission the system, then tune it in the finished home — checking each camera's framing after dark with the lights at their scene levels, walk-testing every motion sensor, and setting the Away, Goodnight and alarm-response scenes with the family. If you are comparing providers, ask each one what identification distance they expect from the gate camera and where the second, lower camera goes: it takes a minute and reliably separates a designer from a box-shifter. What else to check is in our guide to the best home automation companies in Hyderabad.
Building or renovating in Hyderabad? Camera cable routes, contact-sensor provision in door frames and the outdoor lighting circuits that make night footage usable all have to be set before the walls are plastered and the joinery is made — and they have to be set by walking your actual site. Request a consultation →
Frequently asked questions
At what height should a home CCTV camera be mounted?
Mount cameras that need to identify a face at 2.4 to 2.7m and tilt them down about 10 to 15 degrees, so that a person standing 3 to 5m away has their face in the middle of the frame rather than the top edge. Cameras mounted at 3.5m or higher, which is the common instinct because it keeps them out of reach, mostly record the tops of heads and caps: the steeper the downward angle, the less of a face there is to see. Where you genuinely need height for overview or vandal resistance, treat that camera as a coverage camera and add a second, lower one at a choke point such as the main gate or the front door to do the identification. Outdoors, keep the camera under a soffit or eave so the lens and its glass stay out of the direct sun and the monsoon, and avoid pointing it straight at the sky, a west wall in the afternoon or a bright entrance light, because the auto-exposure will then protect the bright area and silhouette everything you actually care about.
How many cameras does a typical home need, and where should they go?
A 3BHK apartment usually needs two to four: the main door approach, the utility or service balcony door, and optionally the main balcony and the living area. An independent villa typically needs six to ten: the gate, the driveway, the main door at head height, each side setback, the rear or service door, the terrace stair, and the parking. The right way to arrive at the number is not to count rooms but to list every point at which a person can enter the property and cover each one, then add coverage of the approach path so you see somebody arriving rather than only the moment they are already at the door. A camera covering a wide empty lawn is decoration; a camera covering the one gate everybody must pass through is evidence. Blind spots matter more than megapixels, so overlap adjacent cameras by roughly 10 to 15 percent of frame width and physically walk the boundary to find the gaps.
How much storage does a home CCTV system need?
For continuous recording, a 4MP camera in H.265 at roughly 4 Mbps produces about 43GB per camera per day, so six cameras generate around 260GB a day and 30 days of footage needs about 7 to 8TB of usable disk. Switching non-critical cameras to motion-triggered recording with a few seconds of pre-roll typically cuts that by 60 to 75 percent, bringing the same six-camera system to roughly 2 to 3TB for 30 days. Two practical notes: buy surveillance-rated drives rather than ordinary desktop ones, because the workload is continuous writes, and decide the retention period before you buy the recorder, since 7 days of footage is very often useless when a problem surfaces after a holiday. Remember also that the recorder can be stolen along with the property, so keep it out of sight in a ventilated, lockable location and back up clips of any real incident off the device.
Where should motion sensors and door sensors go in a home?
Mount PIR motion sensors at 2.1 to 2.4m in a corner that looks across the room, not along the line somebody would walk directly towards, because a PIR detects movement crossing its beams far more reliably than movement approaching head-on. Keep them away from air-conditioner outlets, from direct sunlight through glazing and from anywhere a pet routinely climbs to head height, and use a pet-immune model if you have a dog. Door and window contacts go on the opening edge with the magnet on the moving leaf, with the gap between the two parts inside the manufacturer's limit, which is usually around 10 to 15mm, and they should be planned before the frames and joinery are finished so the wiring or the recess is not an afterthought. As a rule the perimeter is what you want sensed first: contacts on every external door and every accessible window, motion sensors on the internal circulation routes an intruder would have to cross, and nothing at all in bedrooms if the system is meant to be armed while the family is at home.