
In this guide
- Why curtain measuring goes wrong
- The six dimensions to record at every window
- Track width: overhang, stack-back and the maths
- Drop, fullness and how much fabric you are really moving
- Choosing the track: ceiling pocket, wall bracket, single or split
- Sizing the motor: weight, length, noise and power
- Control, scenes and the points to leave behind
- How Pert delivers it (designed, not DIY)
- FAQs
Motorised shading is usually the second thing a homeowner adds after lighting, and it is the item where the gap between a well-executed installation and an average one is most visible from across the room. This article is part of our wider coverage of home automation in Hyderabad, and it deals with the unglamorous half of the subject: the measurements and the specification, rather than the app. If you are still deciding between drapes, rollers, romans and blinds, start instead with our overview of motorised curtains and smart blinds in Hyderabad and come back here once the type is settled.
Why curtain measuring goes wrong
Three structural reasons, all avoidable.
- The measurement happens too late. Curtains are usually discussed at the furnishing stage, months after the false ceiling was closed. By then the choice between a beautiful recessed track and a visible bracket-mounted one has already been made for you, by default.
- Only two numbers get written down. Window width and height. Those two tell you almost nothing about whether the curtain will work: they do not capture the wall available beside the window, the depth above the head, the projection of a sill or an AC unit, or which side a person actually walks in from.
- Nobody calculates stack-back. The width of the bunched fabric when the curtain is open is a real, calculable number, and it is the difference between a window that opens fully and one that is permanently a quarter covered. Skip it and you find out after the fabric is stitched.
Measuring properly takes about ten minutes per window and costs nothing. Getting it wrong costs the fabric.
The six dimensions to record at every window
Take these six at every opening, in millimetres, and write them on a sketch rather than in your head. Use a steel tape, not a fabric one, and measure to the finished surfaces — after plaster, after tiling, after the false ceiling.
- Opening width (W). The clear width of the window or glazed opening, measured at the top, the middle and the bottom. Take the largest. In most Hyderabad apartments these three differ by 5–15mm; on a site-built opening the difference can be more.
- Wall available left and right (AL, AR). Measure separately from each edge of the opening to the nearest obstruction — a corner, a return wall, a wardrobe, a door architrave, a switchboard. This pair decides the overhang and, ultimately, whether the curtain can draw from both sides.
- Head clearance (H). From the top of the window opening up to the finished ceiling or the underside of the false ceiling. This decides whether a track can be recessed, must be surface mounted, or has to be face-fixed to the wall.
- Drop (D). From the intended track position down to the finished floor level — and note the flooring, because 10mm of tile plus adhesive changes the hem. Take the drop at both ends and in the middle; floors in India are rarely level to the millimetre and a 15mm slope across a 3m window is visible in the hemline.
- Projection and obstructions (P). Anything that stands proud of the wall in the curtain's path: a sill, a window handle, a split-AC indoor unit, a projecting shutter, a radiator-style convector, a low console. Record how far each one sticks out and at what height. A 60mm handle is enough to hold a drape off the glass.
- Ceiling pocket depth and width, if any. If a false ceiling exists or is being designed, record the intended pelmet pocket — internal depth, internal width, and whether the pocket runs the full length of the wall or stops at the window.
Add two non-dimensional notes to the same sketch: which side you enter the room from, and which direction the window faces. The first decides the one-way draw direction; the second decides how hard the sheer layer has to work. West-facing glass in Hyderabad takes a punishing 3pm to 6pm sun and almost always justifies a sheer plus dim-out pair, a point we quantify in smart curtains and energy savings.
Track width: overhang, stack-back and the maths
The track is never the width of the window. Two allowances sit on top of it.
Overhang — 150 to 250mm each side
Extend the track 150–250mm past each edge of the opening wherever the wall allows. On a 1800mm window that gives a track of roughly 2200–2300mm. Overhang does two things at once: it parks the gathered fabric off the glass when the curtain is open, and it seals the vertical light leak when it is closed. If a room needs true darkness — a bedroom, a media room — push the overhang towards 250mm and add a return end that bends back to touch the wall, which is what stops the thin bright line down the side that no amount of fabric weight will fix.
Height — take the track up, not just across
Mount the track as close to the ceiling as the construction allows rather than just above the window head. The room reads taller, and the top light leak disappears. Where a false ceiling is going in, that means a recessed pocket; where it is not, it means the track sits high on the wall and the drape runs from near-ceiling to floor. Either way, allow 10–15mm of floor clearance at the hem so the fabric does not drag, sweep dust, or foul the leading edge as the motor drives it.
Stack-back — the number to calculate before ordering fabric
Stack-back is the width of the bunched curtain when open. A reliable working estimate for pinch-pleat drapes at 2.0× fullness is roughly a fifth to a quarter of the finished curtain width, per side. Worked through on a real window:
- Window 1800mm wide, track 2300mm, split draw — two panels of about 1150mm finished width each.
- At roughly 20–25%, each panel stacks to about 290–380mm of wall.
- So you need at least 300mm of clear wall beyond each side of the glass for the window to open properly. If you only measured the window, you never knew that.
Heavier fabrics, thicker linings and higher fullness all push stack-back up; sheers and lower fullness pull it down. When the wall genuinely is not there — a window hard into a corner, a wardrobe returning at 150mm — you have three honest options, and picking one at the drawing stage is far better than discovering the constraint at installation: use a single one-way draw stacking entirely to the wider side; reduce fullness to 1.5×; or accept that the opening wants a roller or roman blind rather than a drape.
Drop, fullness and how much fabric you are really moving
Fullness is the ratio of flat fabric width to finished curtain width, and it is the single biggest driver of both how the curtain looks and how hard the motor has to work.
- 1.5× — economical, flatter folds, least stack. Acceptable on sheers and on tight walls; looks thin on a heavy drape.
- 2.0× — the standard for pinch pleat and the right default for living rooms and bedrooms. Deep, even folds that read well both open and closed.
- 2.5× — luxurious, used on sheers and tall drops for a soft ripple. Significantly more weight and significantly more stack-back.
The arithmetic that surprises people: a 2300mm track at 2.0× fullness carries about 4600mm of flat fabric. In a 300 GSM lined blackout at a 2900mm drop, that is roughly 13 m² of cloth and, with lining, comfortably 4–6 kg hanging off the carriers before you count the hem weights. That figure is not trivia — it is the input to the motor selection two sections down.
Two more fabric decisions worth fixing at measuring time. First, sheer plus dim-out on a twin track is the arrangement that actually gets used daily in an Indian home: the sheer runs all day for glare and privacy, the dim-out comes across only when the sun is direct or the room is being used for sleep or a screen. Second, choose the lining before the motor, because a triple-weave blackout lining can double the weight of the same face fabric. The case for the layered approach in living spaces is set out in why smart curtains are useful for new age homes.
Choosing the track: ceiling pocket, wall bracket, single or split
Recessed in a ceiling pocket — the best result, decided early
A pelmet pocket formed in the false ceiling hides the track and motor completely, gives a clean floor-to-ceiling drape and removes the top light leak. It has to be designed before the ceiling is closed. As a planning guide, allow an internal pocket depth of about 120–180mm and an internal width of about 100–150mm for a single track, widening to roughly 200–250mm for a sheer-plus-dim-out twin track, plus space at one end for the motor head. Confirm the exact figures against the specific track and motor being used — a pocket built to a generic dimension and a motor chosen later is precisely how a track ends up not fitting.
Surface or wall mounted — the retrofit answer
Where the ceiling is already finished, the track is bracket-mounted to the ceiling slab or face-fixed to the wall above the window. This works perfectly well and is what most completed apartments get. It needs 80–100mm of clearance above the window head for brackets and motor, and it needs a fixing substrate that will hold the load — a drywall or gypsum board section without a stud or a fixing plate behind it will not carry 6 kg of moving drape, and this is a common failure. Retrofit sequencing more broadly is covered in adding home automation during renovation.
Single draw or split draw
Split (centre) draw — two panels meeting in the middle — is the default for windows above about 1800mm. It halves the travel, halves the stack per side and looks symmetrical. Single (one-way) draw is right for narrower windows, for glass doors where the whole opening must clear, and wherever the wall is available on only one side. Decide this from the AL and AR measurements, not by preference.
Bends, bays and long runs
Bay windows and L-shaped glazing need a curved or mitred track, and not every motorised system will drive one. If your window turns a corner, say so before the quotation: it changes the track family, sometimes the motor, and always the price. Very long straight runs beyond roughly 4–5m may need an intermediate support or a heavier-duty profile so the track does not sag in the middle.
Sizing the motor: weight, length, noise and power
This is where an underspecified installation reveals itself six months in — slow travel, a stall halfway across, an audible strain, a motor that gets warm. Five checks.
- Load. Compare your calculated fabric weight (see above — typically 3–7 kg for a full-height lined drape on a domestic window) against the motor's rated load, and leave headroom rather than specifying to the edge. Fabric also gets heavier: dust, humidity and a dry-cleaned lining all add.
- Track length. Every motor has a maximum rated run. A 3m track and a 6m track are different specifications even with the same fabric.
- Noise. For a bedroom, look for a quiet motor in the region of 30–35 dB. This matters far more than buyers expect, because the single best curtain automation — a gentle wake-up open in the morning — is worthless if the mechanism wakes the room before the light does.
- Speed and soft start/stop. A curtain that slams open looks cheap. Soft start and soft stop, and a travel speed of roughly 12–18 cm per second, is what reads as premium.
- Power point. The motor needs power at the track end. Specify a 5A point within about 300mm of the motor end of the track, at head height, with neutral, and on the correct side — left or right — because the motor head sits at one specific end and a point on the wrong side means a visible cable across the pelmet. On a battery-driven retrofit motor, plan instead for how the unit will be reached for charging, which is a real consideration at a 3m ceiling.
Two more things worth insisting on: manual override, so the curtain can be pulled by hand during a power cut without damaging the mechanism, and limit settings that are properly commissioned at installation so the panels close fully to the centre without over-driving into each other. Behaviour during outages generally is covered in do smart homes work during power cuts and internet outages.
Control, scenes and the points to leave behind
A motorised curtain that only opens from a phone app gets used for about three weeks. The ones that stay in daily use are the ones wired into scenes and reachable from a wall control.
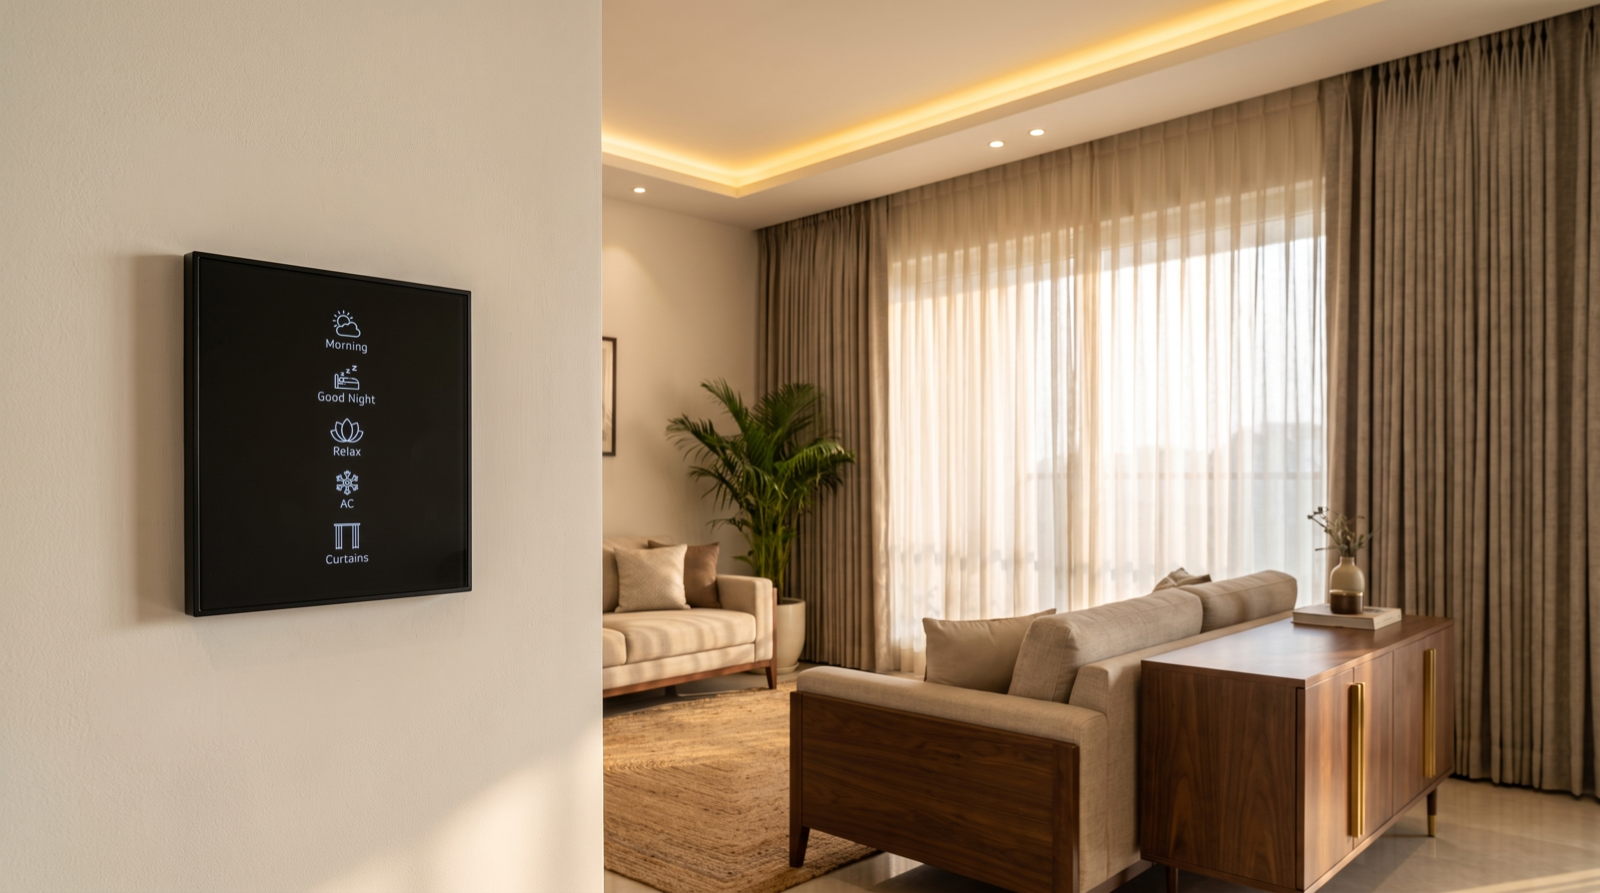
- Morning — sheers open at a set time, dim-out stays parked. Daylight does the waking.
- Afternoon / Sun — sheers closed on the west-facing glass through the hottest hours, dim-out open, lights lifted slightly to compensate.
- Movie — dim-out fully closed, cove lighting down to a low warm level.
- Good Night — everything closed, lights off, at the bedside rather than at the door.
Put those on a wall keypad with engraved labels — one at the room entry and one at the bedside — with the app as the secondary control rather than the only one. Placement logic room by room is in how to plan keypads in a home, and the argument for scenes over per-device control in why scene-based automation beats app-only devices.
The electrical and civil points to leave at each window, all cheap now and expensive later:
- A 5A power point at the motor end of each track, at window-head height, with neutral, on the confirmed side.
- A pelmet pocket at the confirmed depth and width, sized to the actual track and motor, not to a generic number.
- A solid fixing substrate above the window — a timber batten or fixing plate behind the gypsum, wherever the track will be bracket-mounted.
- A keypad back-box at the room entry, handle side, and a second at the bedside in bedrooms.
- Control cabling back to the automation panel, alongside the lighting circuits, so curtains and lighting can sit in the same scene rather than in two separate systems.
If the house is still at the structural stage, the sequencing for all of this — and the order in which decisions have to be made — is in when to plan home automation during construction.
How Pert delivers it — a designed solution, not a DIY kit
Pert is a solutions company: we design and install. For shading, that means a site visit where we take all six dimensions at every window ourselves, on a marked-up drawing, along with window orientation, entry side and obstructions — because a curtain quotation built from a client-supplied width and height is a quotation that will change. We then issue a window schedule that fixes, per opening: track type and finish, mounting method, pocket dimensions where the ceiling is still open, overhang and calculated stack-back, draw direction, fullness, fabric and lining weight, motor model and rated load, motor end and the power point position, and the scenes the window belongs to. That schedule goes to the false-ceiling contractor, the electrician and the furnishing tailor at the same time, which is the actual reason the track fits when it arrives.
We supply and install the motorised curtain tracks and motors, integrate them with the lighting, keypads and security so a single scene moves everything together, then commission the limits, speeds and scenes in the finished room and hand over a plain-language walkthrough. If you are comparing providers, ask each one for the stack-back figure and the motor's rated load at your widest window — it is a fast, unambiguous test of whether they design or simply resell. Our guide to the best home automation companies in Hyderabad covers the rest of what to check before you sign.
Planning motorised curtains in Hyderabad? Get the window schedule done before the false ceiling closes and before any fabric is cut — overhang, stack-back and pocket depth are decisions that cannot be revisited afterwards. Request a consultation →
Frequently asked questions
How much wider than the window should a motorised curtain track be?
As a working rule, extend the track 150mm to 250mm beyond each side of the window opening, and more if the wall allows. That overhang does two jobs. It gives the gathered fabric somewhere to park when the curtain is open, so the glass is not permanently half covered, and it kills the light leak down the vertical edges when the curtain is closed. On a 1800mm wide window, a track of about 2200mm to 2300mm is normal. The only cases where you reduce the overhang are a wall return, an adjacent corner or a door swing — and those need to be recorded at the measuring stage rather than discovered on the day of installation.
How much wall space do curtains need when open (stack-back)?
Stack-back is the width of the bunched fabric when the curtain is fully open, and it is the number most people never calculate. A practical estimate for a pinch-pleat curtain at 2.0× fullness is roughly one fifth to one quarter of the finished curtain width per side. A 2400mm track split into two panels typically stacks about 300mm to 380mm on each end. Heavier fabrics, thicker linings and higher fullness all increase it. If you have only 150mm of wall beside the window, the honest answer is either a single one-way draw stacking to the wider side, a lower fullness, or a roller blind instead of a drape.
How do I choose the right motor for a motorised curtain?
Size the motor against three things: total fabric weight, track length, and whether the track is straight or bent. Estimate weight as fabric GSM multiplied by finished curtain area, and remember that fullness means a 2400mm track can carry nearly 5000mm of cloth. A lined blackout drape at 300 to 400 GSM on a 3m track is a very different load from an unlined sheer. Then check track length against the motor's rated maximum, check the mounting side and the position of the power point, and confirm the motor is quiet enough for a bedroom — around 30 to 35 dB is the level at which a curtain closing does not wake anyone. Underspecifying the motor is the most common cause of stalling, slow travel and premature failure.
Should motorised curtains be ceiling mounted or wall mounted?
Ceiling mounting, ideally into a recessed pelmet pocket in the false ceiling, looks better and performs better: the track disappears, the drape reads floor to ceiling, and the top light leak is eliminated. It requires the pocket to be designed before the ceiling is closed, typically 120mm to 180mm deep and 100mm to 150mm wide for a single track, and wider for a sheer plus dim-out pair. Wall mounting on brackets is the retrofit answer when the ceiling is already done, and it works perfectly well provided there is at least 80mm to 100mm of clearance above the window head for the bracket and motor, plus a fixing substrate that will actually hold the load.